Backup a MacOS
Back up your Mac with Time Machine
If you have a USB drive or other external storage device, you can use Time Machine to automatically back up your files, including apps, music, photos, email, and documents.
Connect a storage device to your Mac
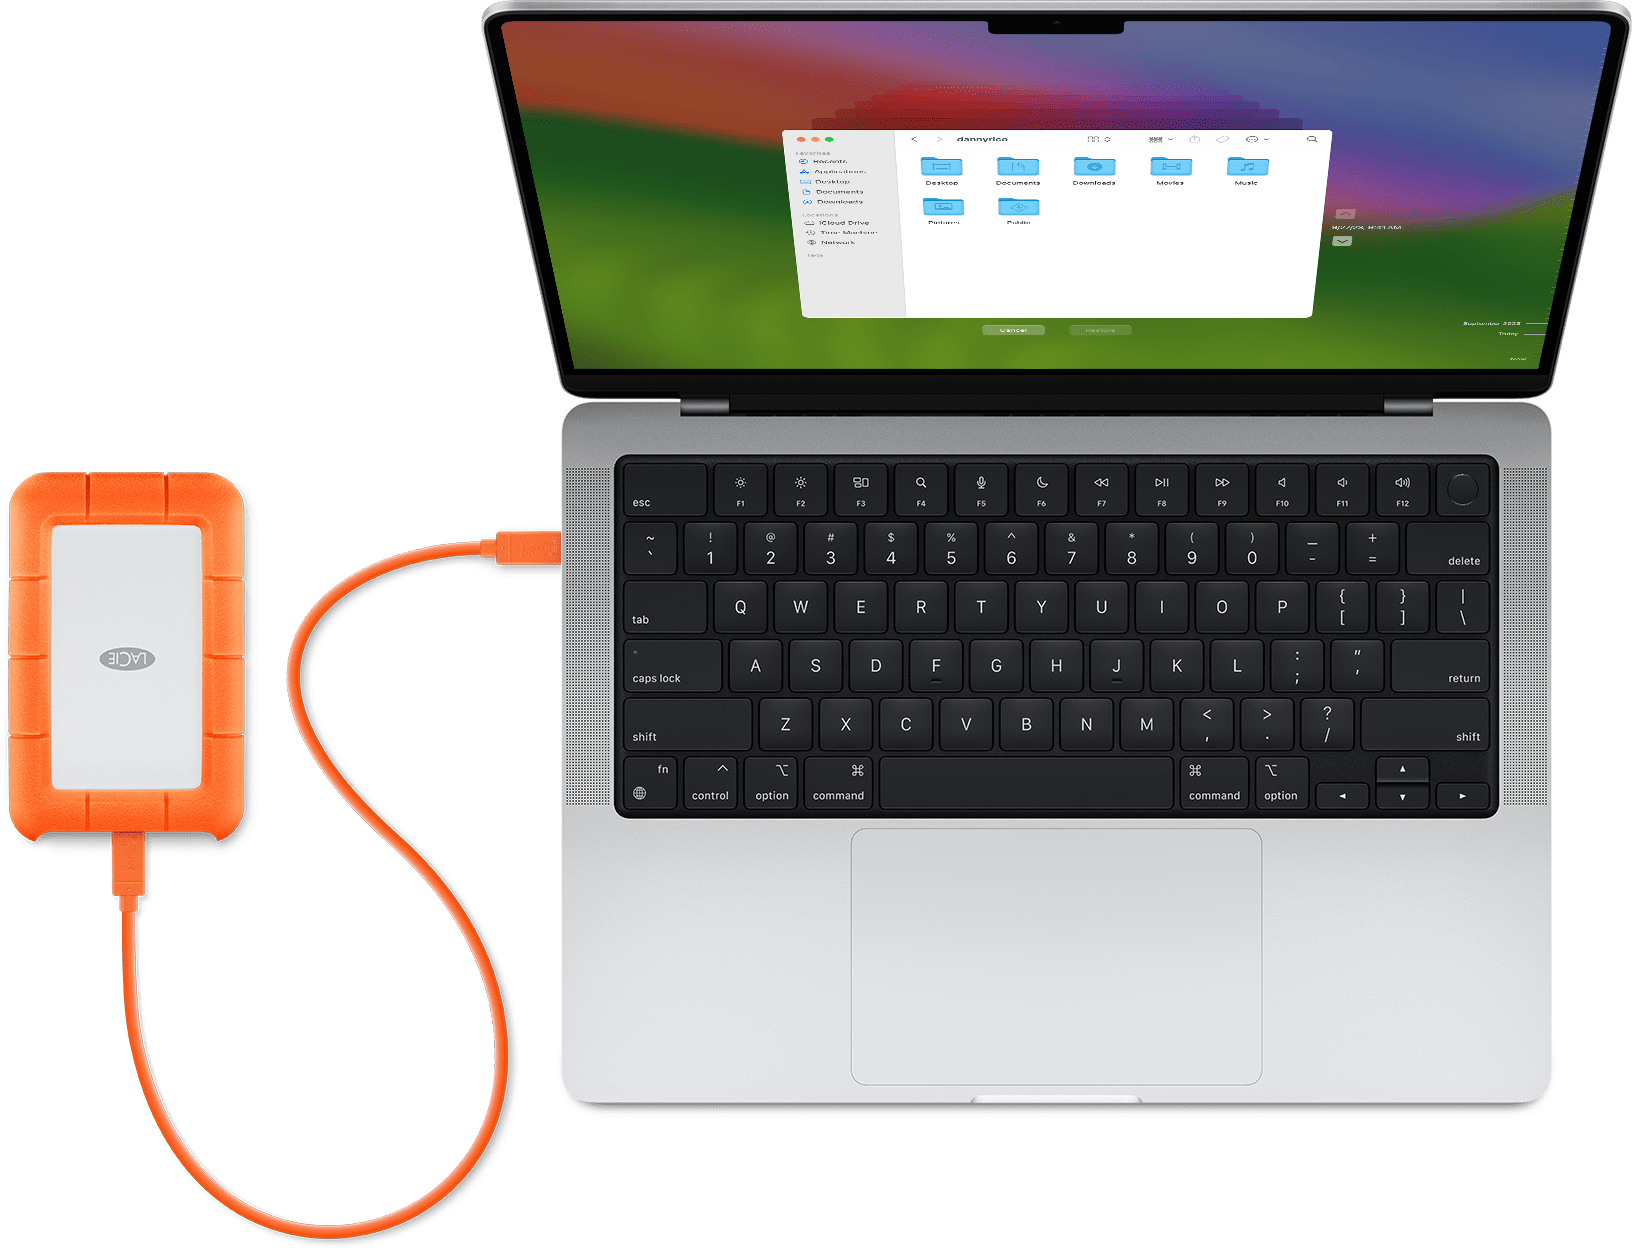
Connect an external storage device, such as a USB drive or Thunderbolt drive.
-
Use a storage device with at least twice the storage capacity of your Mac. For example, if your Mac has 1TB of storage, your backup disk should ideally have at least 2TB of storage. If Time Machine needs more storage space, your Mac will let you know.
-
Use your Time Machine backup disk only for Time Machine backups, not for storage of other files.*
Set up the storage device as your backup disk
Learn the setup steps in your version of macOS, or follow these steps in macOS Ventura or later:
-
From the Apple menu in the corner of your screen, choose System Settings.
-
Click General in the sidebar, then click Time Machine on the right.
-
Click Add Backup Disk, or click the Add button (+).
-
Select your connected storage device and click Set Up Disk.
During setup:
-
Your Mac might ask if you want to erase the storage device so that it can be used for Time Machine. Either erase it or select a different backup disk or volume.
-
Your Mac might ask whether this computer should claim existing backups created on a different computer. Claim the backups if you want them to become part of the backups for this Mac.
After setup, your Mac immediately begins using the storage device to make backups.
Make a backup
To back up now, choose Back Up Now from the Time Machine menuNo alt supplied for Image in the menu bar. Or wait for the next automatic backup.
Use the same menu to stop or skip a backup or check its progress. The top of the menu shows how much of the current backup is done, or the date and time of the latest backup:


If you don't see this menu, make sure that Control Center settings (macOS Ventura or later) or Desktop & Menu Bar preferences (macOS Monterey or earlier) are set to show Time Machine in the menu bar.
Backup frequency and duration
Time Machine automatically makes hourly backups for the past 24 hours, daily backups for the past month, and weekly backups for all previous months. The oldest backups are deleted when your backup disk is full.
To change the backup frequency in macOS Ventura or later, choose Open Time Machine Settings from the Time Machine menuNo alt supplied for Image. Click Options, then choose a setting from the “Back up frequency” menu.
The first backup might take longer than you expect, but you can continue using your Mac while a backup is underway. Time Machine backs up only the files that changed since the previous backup, so future backups will be faster.
Use Time Machine on your Mac to back up to multiple disks
For extra security and convenience, you can back up to multiple disks. If you work in two locations, you may want to keep backup disks in both places.
Time Machine rotates the backup schedule among the disks. For each disk, Time Machine backs up everything that’s changed since the last time that disk was used. If you designated items that shouldn’t be backed up, the list of excluded items applies to all backup disks.
If you use multiple backup disks, you can see timelines for all disks or for an individual disk.
To see a timeline for all backup disks: Click the Time Machine icon in the menu bar, then choose “Browse Time Machine backups.”
To see the timeline for a specific backup disk: Click the Time Machine icon in the menu bar, press the Option key, then choose Browse Other Backup Disks.
If you create a backup on a Mac or partition with macOS 12 or later, you can only use that backup on Mac computers or partitions with macOS 11 or later.