vCenter Installation
Stage 1: vCenter Server Deployment
-
Mount the ISO on your server/laptop, navigate to
vcsa-ui-installer\win32, and runinstaller.exeas Administrator.
-
Choose
Install.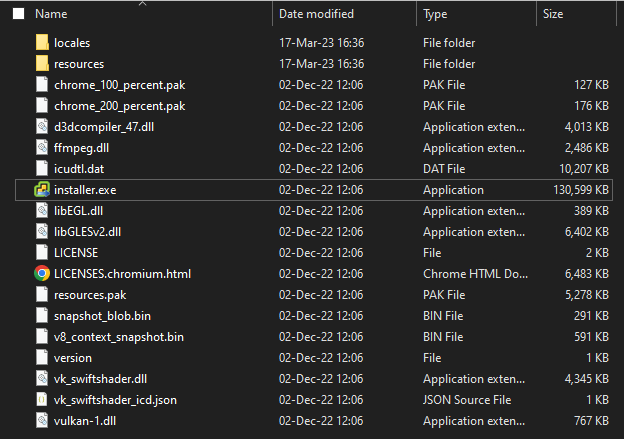
-
Click
Next.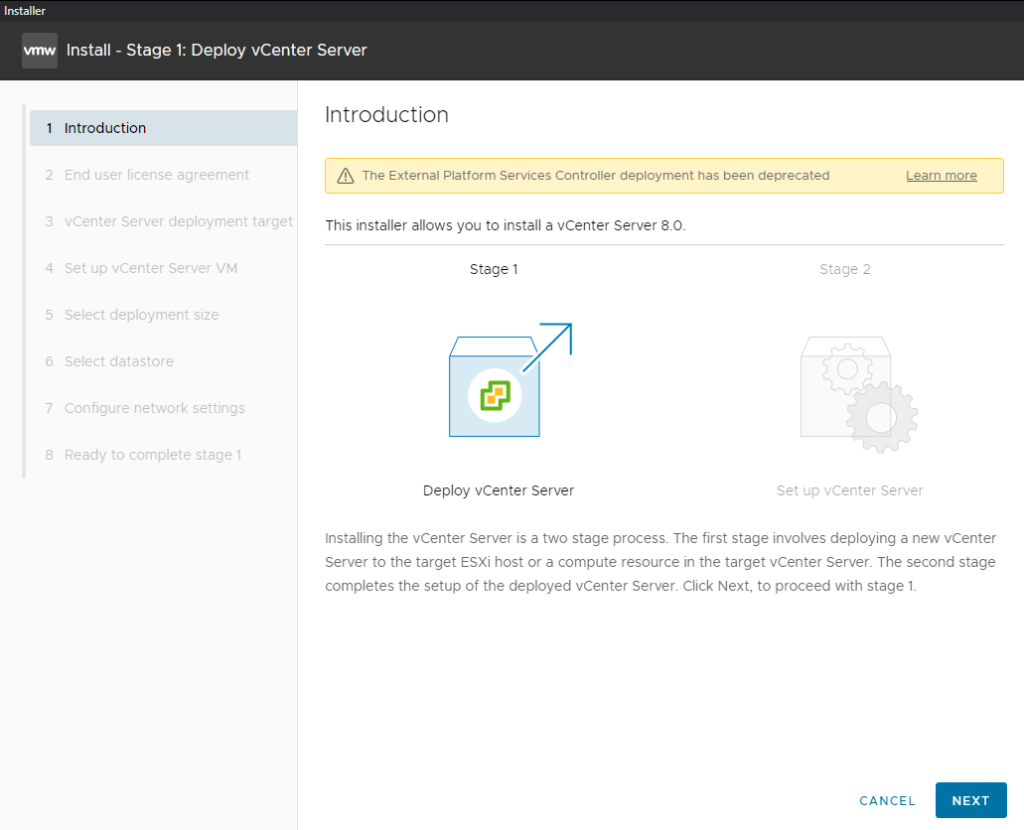
-
Accept Licenseand clickNext.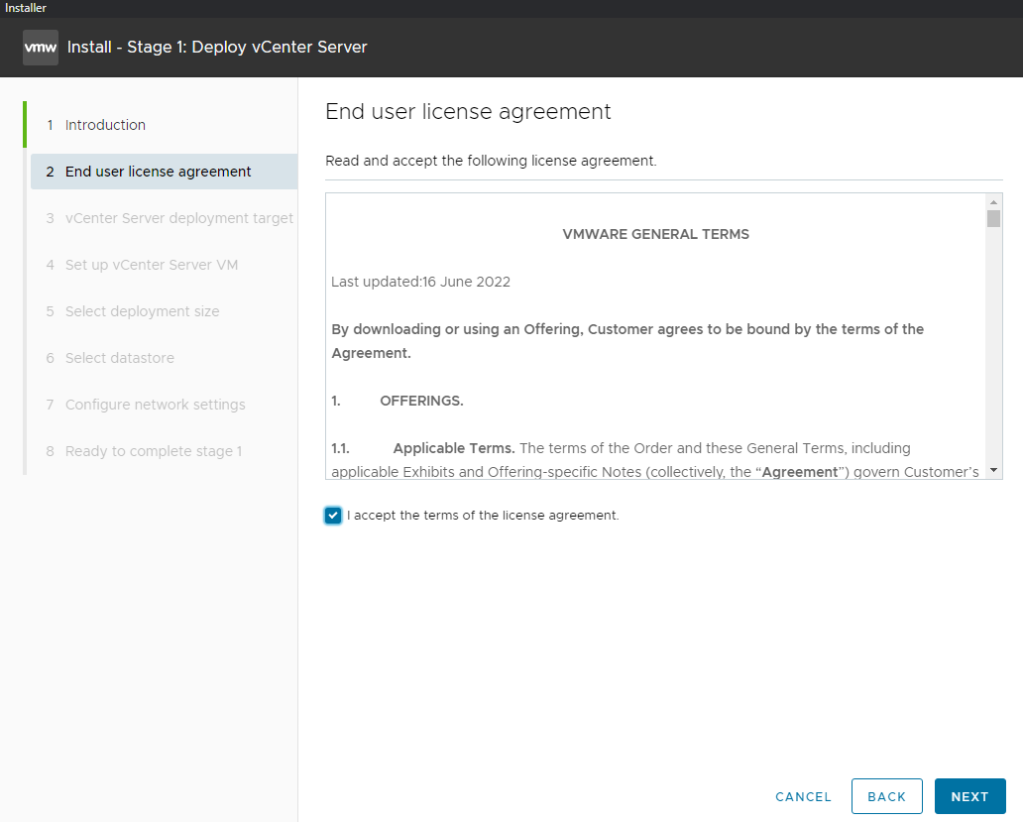
-
Type the IP or hostname of your ESXito which the new vCenter Server Appliance will be deployed. Typerootpassword and click Next.
-
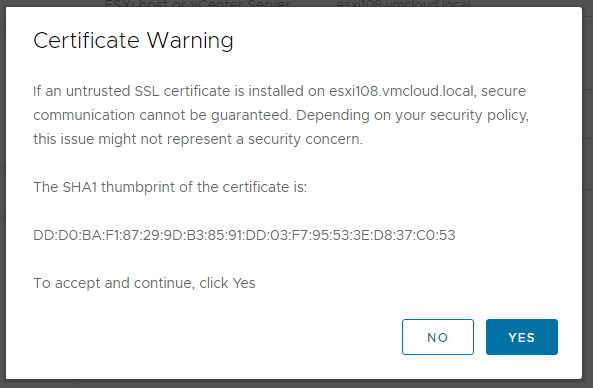
Click Yes on Certificate Warning.
-
Type the desired vCenter Server Appliance VM namewith the newrootpassword. ClickNext.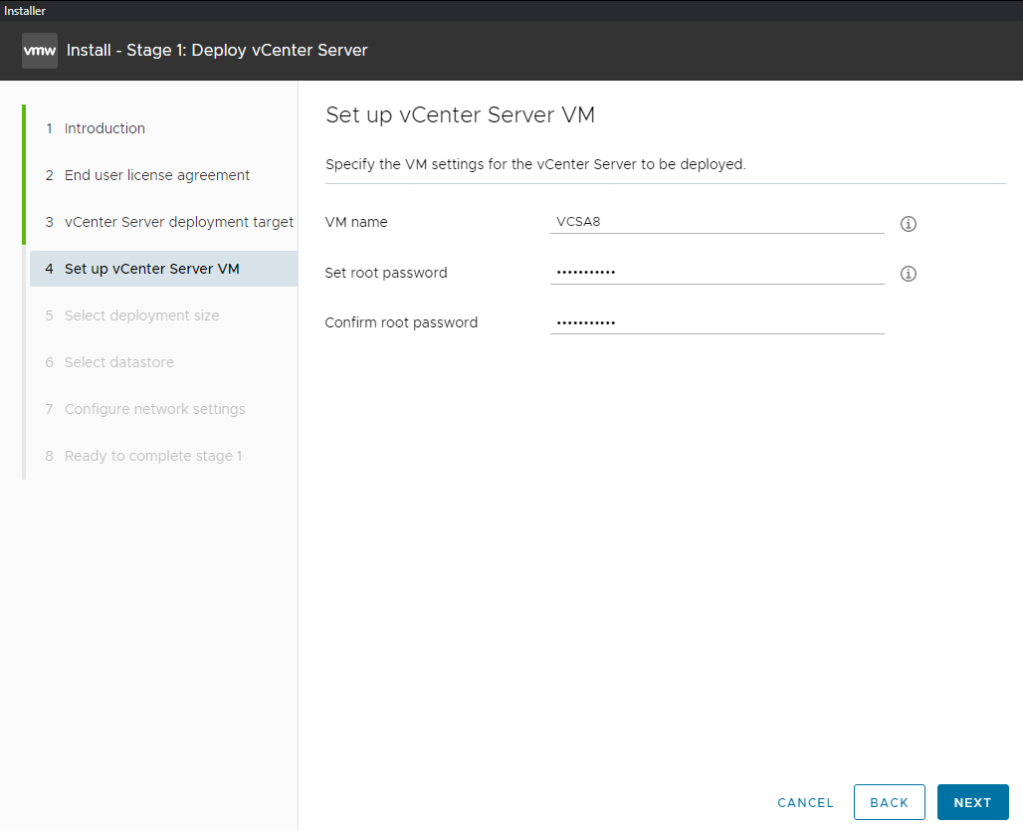
-
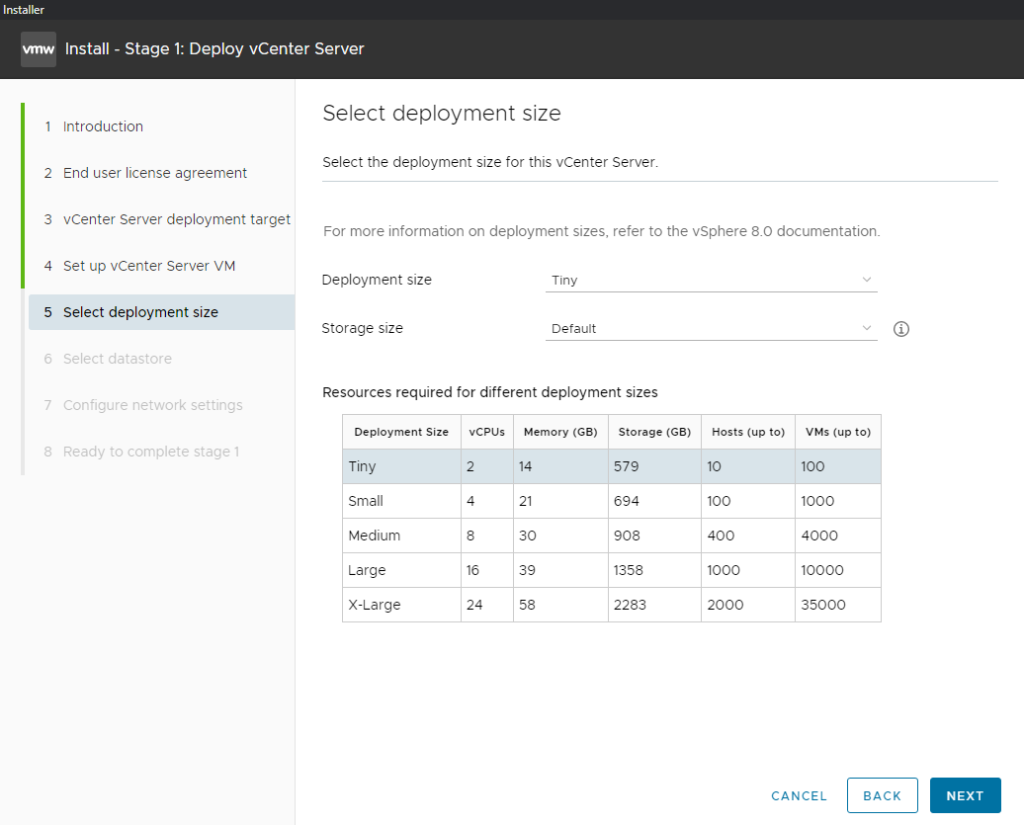
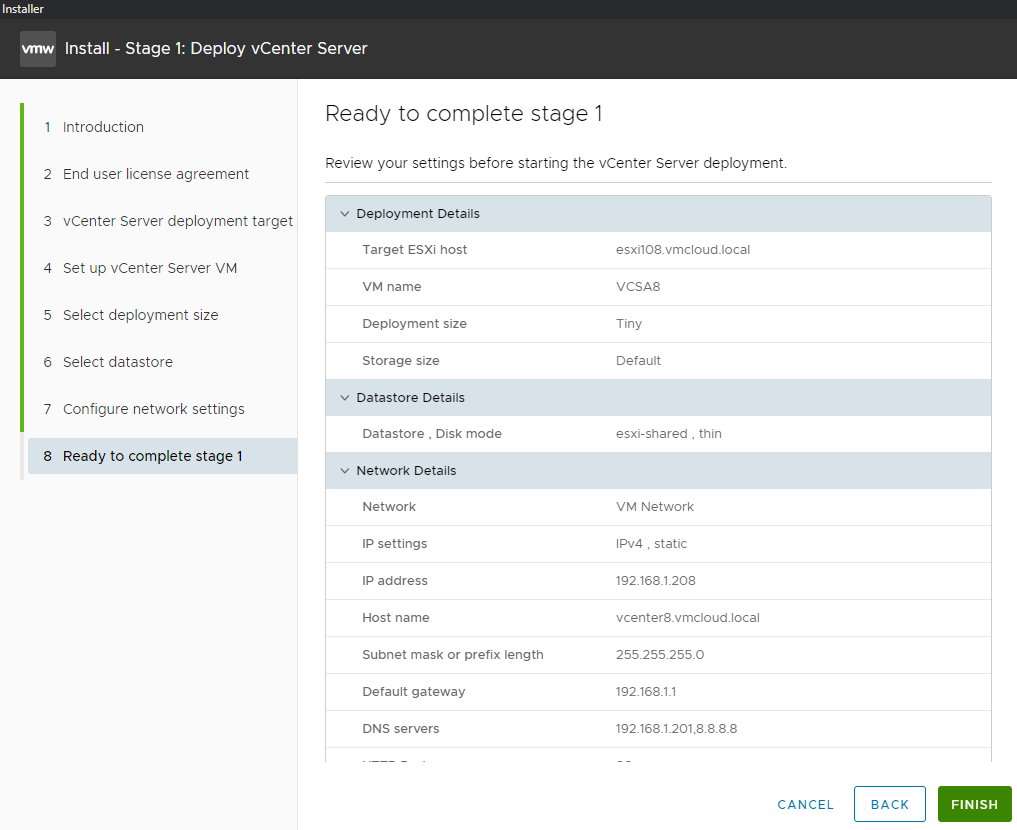
Select deploymentsize. ClickNext.The required storage space is 579 GB; however, you can choose a storage with less free space.
CPU and RAM requirements are non-negotiable; you will not be able to install vCenter 8 if the ESXi host has less than 14 GB of free memory.
-
Select the desired datastoreand selectEnable Thin Disk Mode. ClickNext.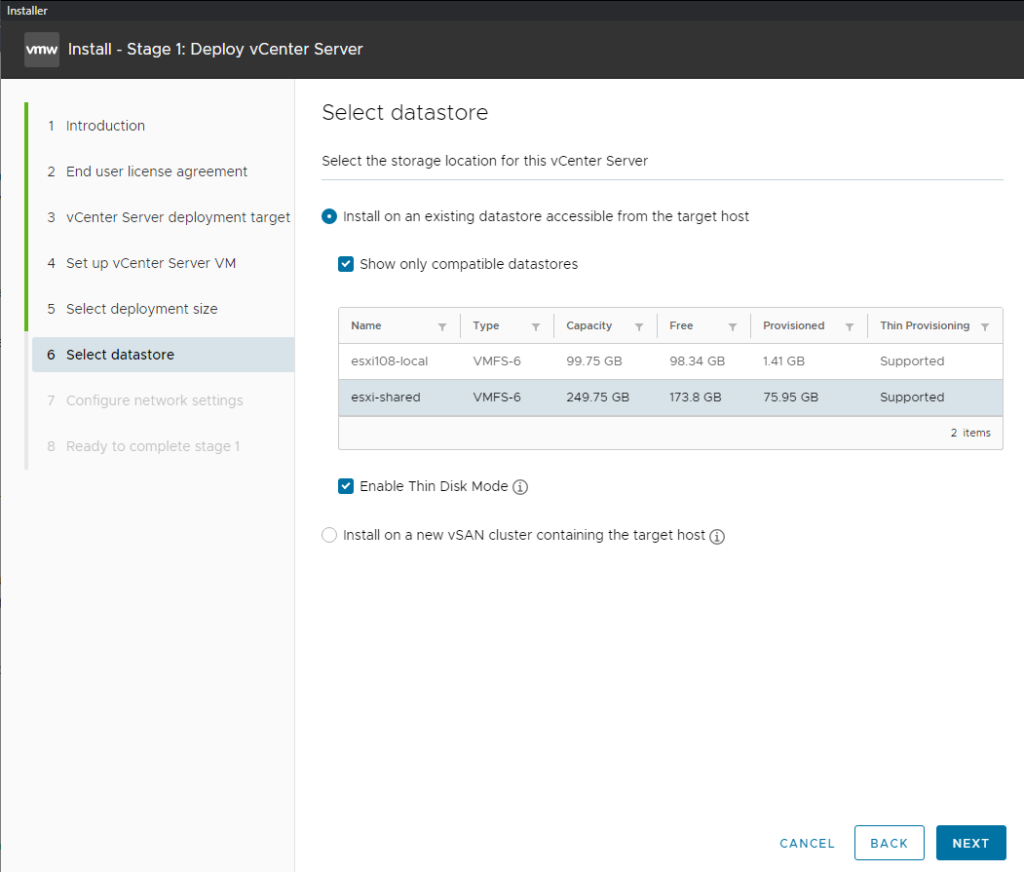
-
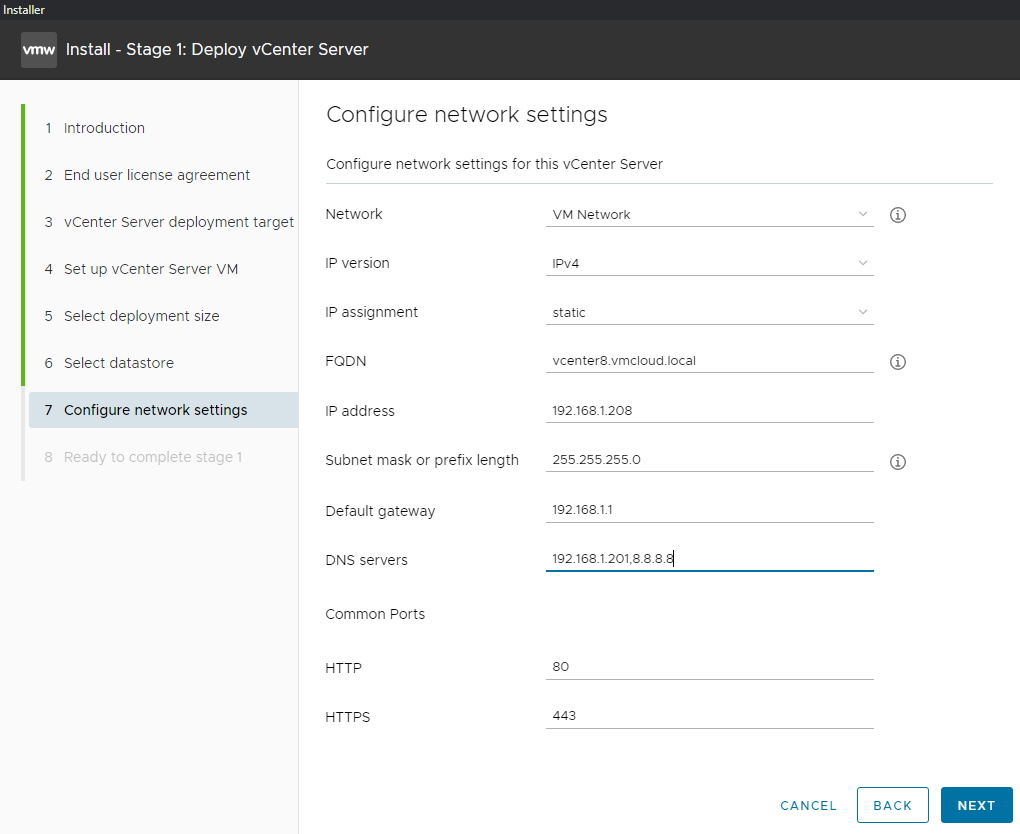
Type your IP detailsand clickNext.
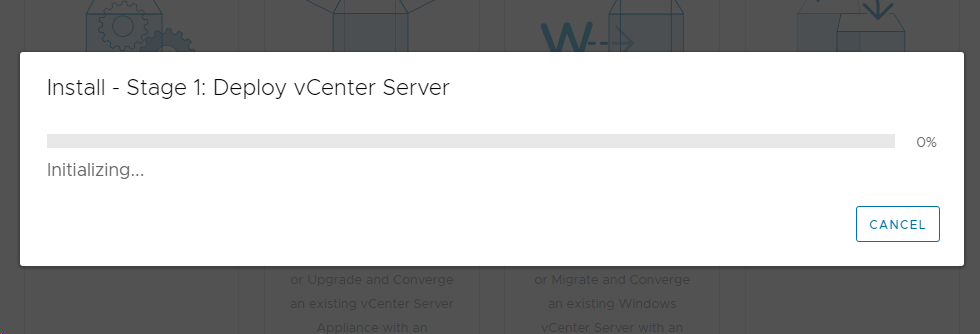
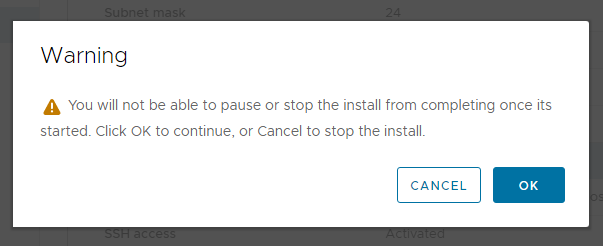
- Click
Finishand wait for completion.
Installation in progress.
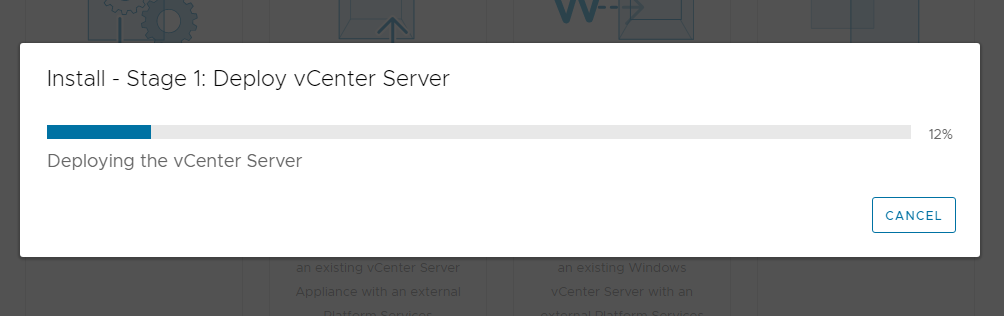
You can observe the task in ESXi.

Once finished click Continue.

Stage 2: Set up vCenter Server
-
Click
Nexton the Introduction screen.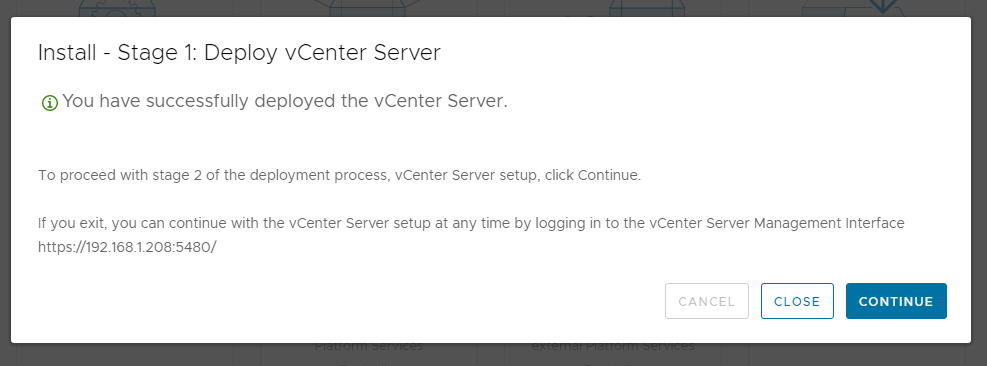
-
Time synchronization mode
choose with ESXi. For SSH access, it is up to your preferences; SSH access can be enabled anytime after installation.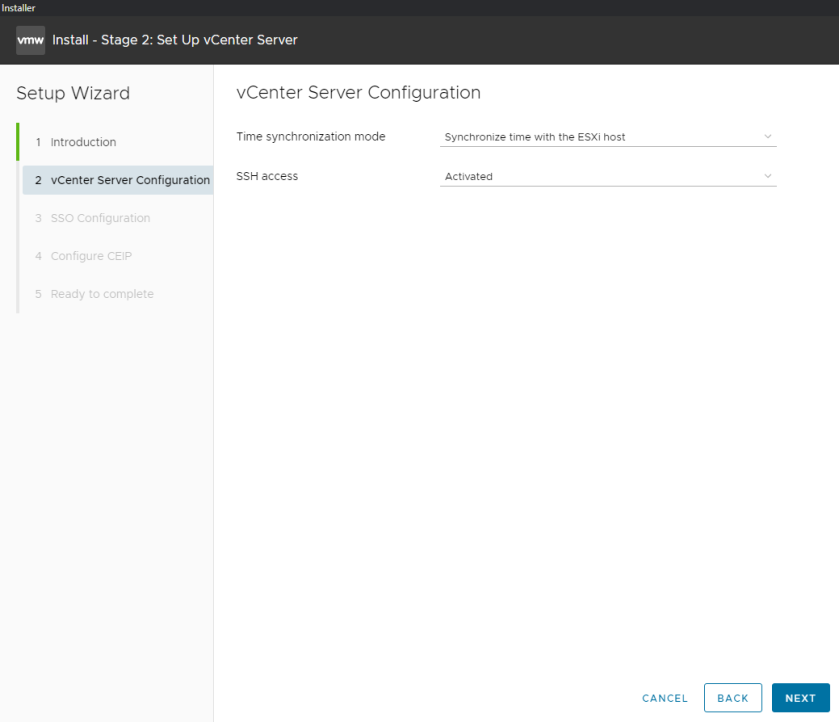
-
Select
Create a new SSO domainand type yourpassword.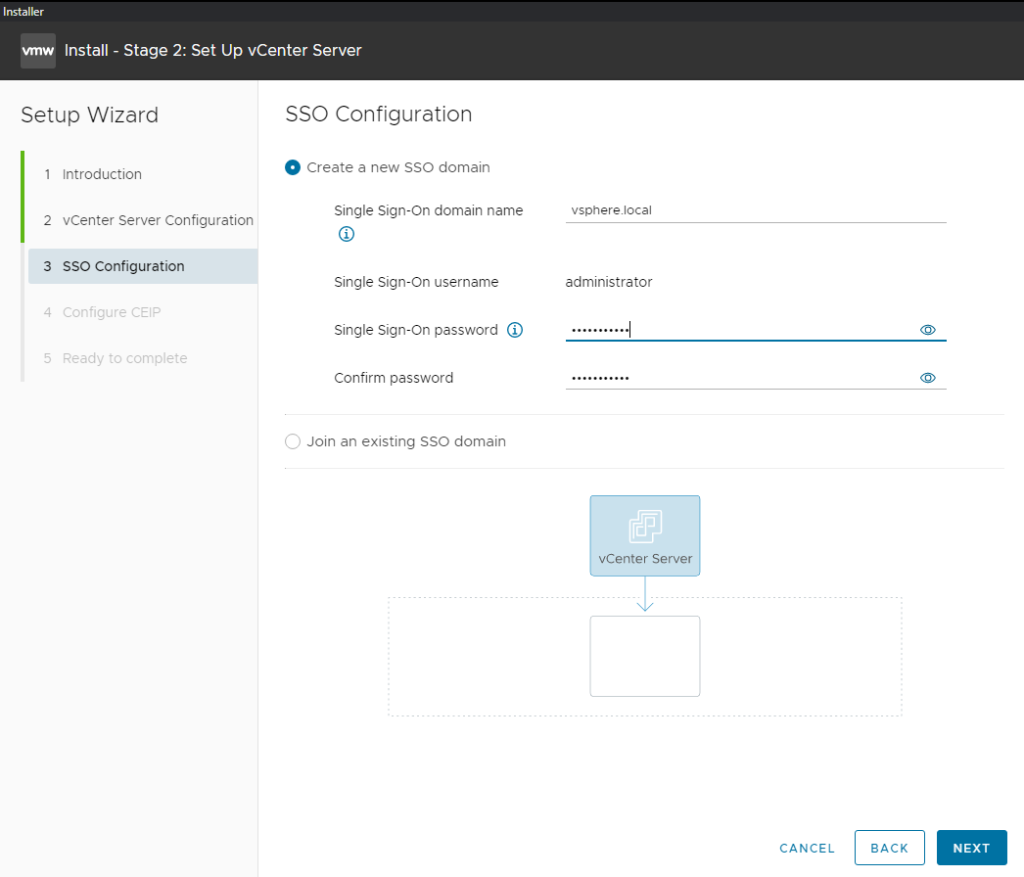
-
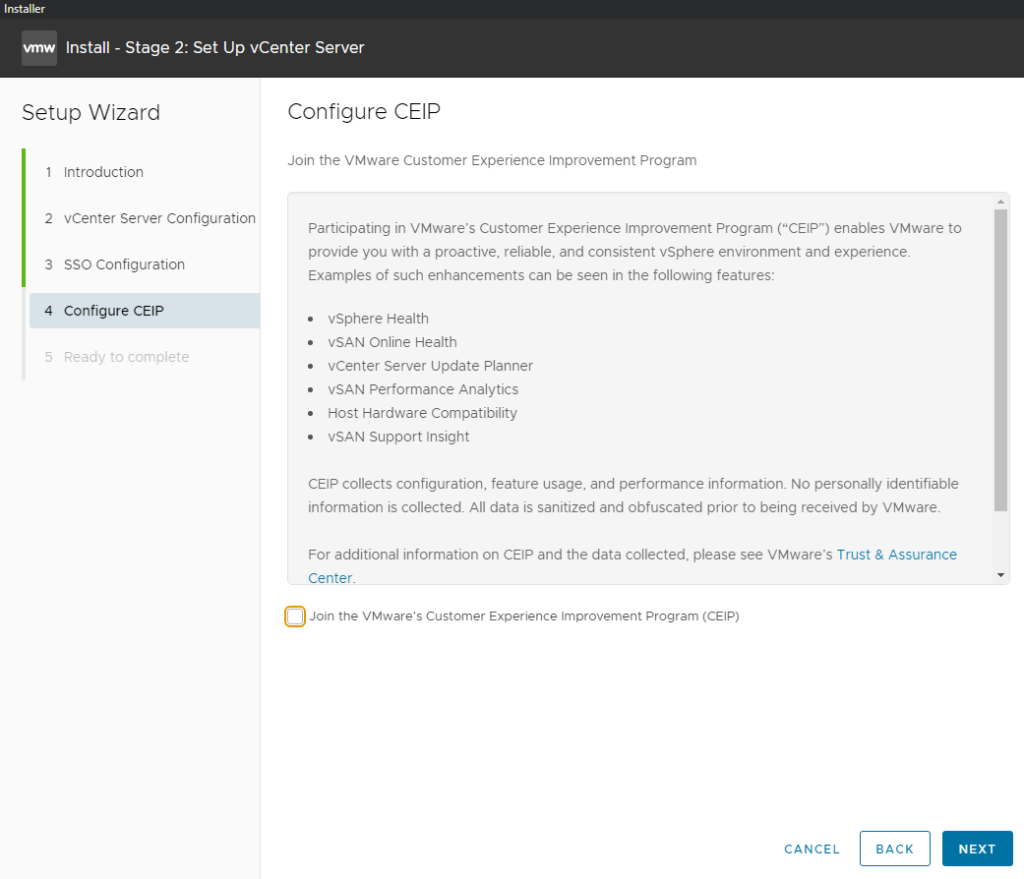
Join CEIP if you want.
-
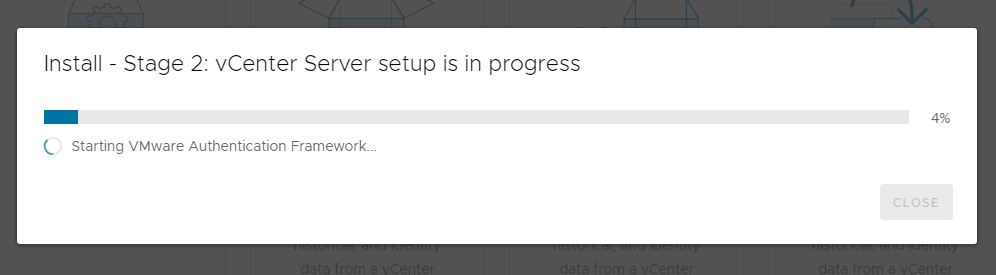
Click FinishandOK.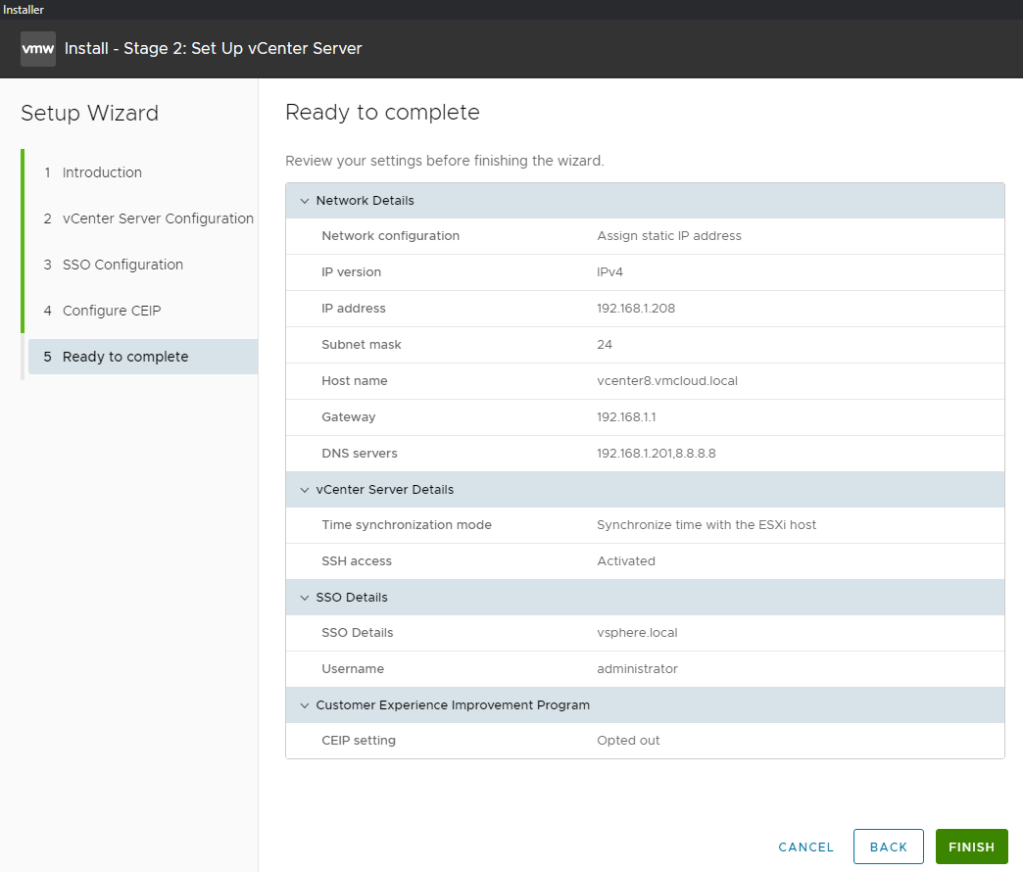
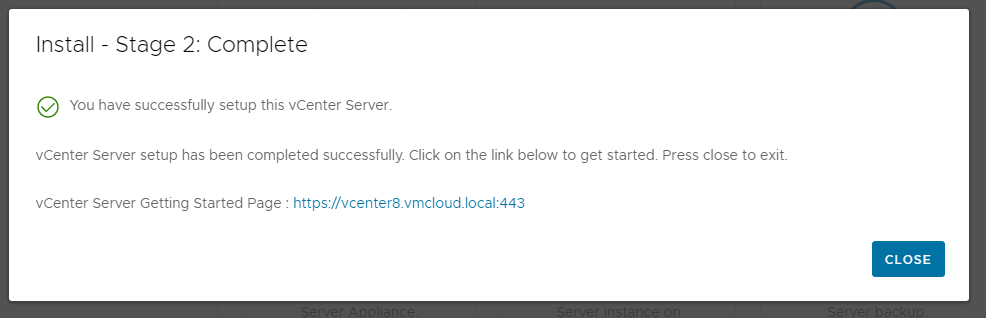
vCenter setup in progress.
vCenter setup done.
Adding ESXi hosts to vCenter
-
Once vCenter is up and running, it is time to add ESXi host. Go to vCenter Web Client:
https://vCenter_IP_or_hostnameIf you want to use the hostname, make sure you have added your vCenter IP to the hosts file!
Login with
administrator@vsphere.local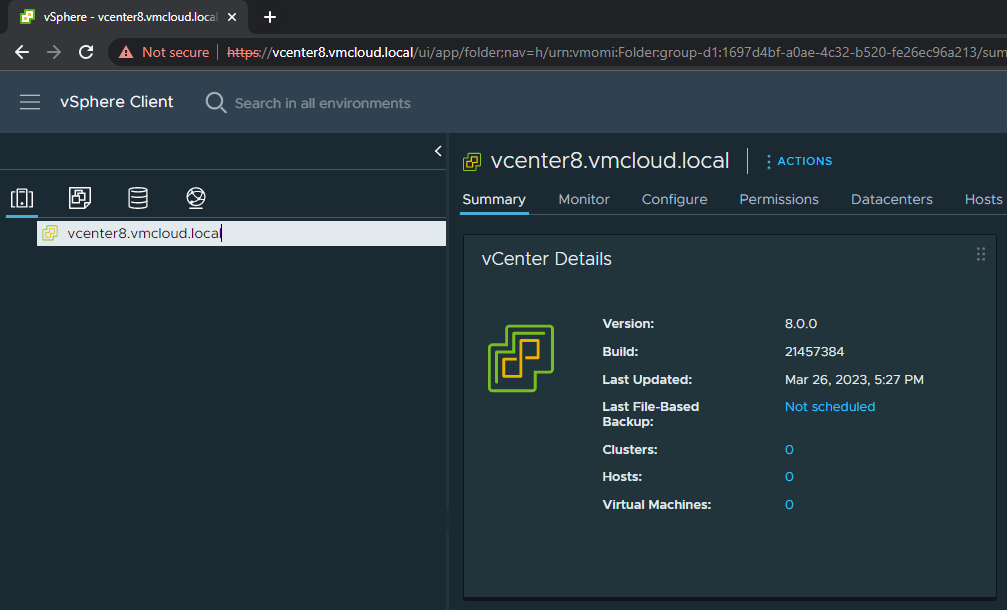
-
Right-click on your vCenterand choose anew Datacenter.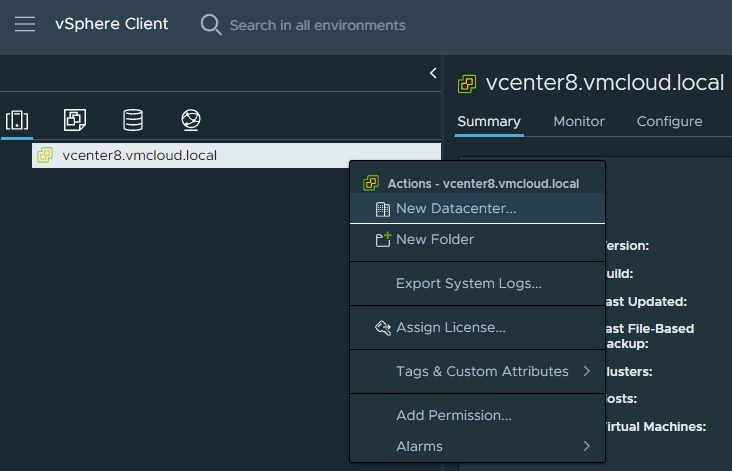
-
Type the desired Datacenter nameand clickOK.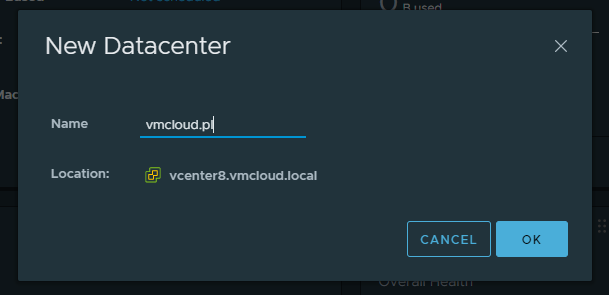
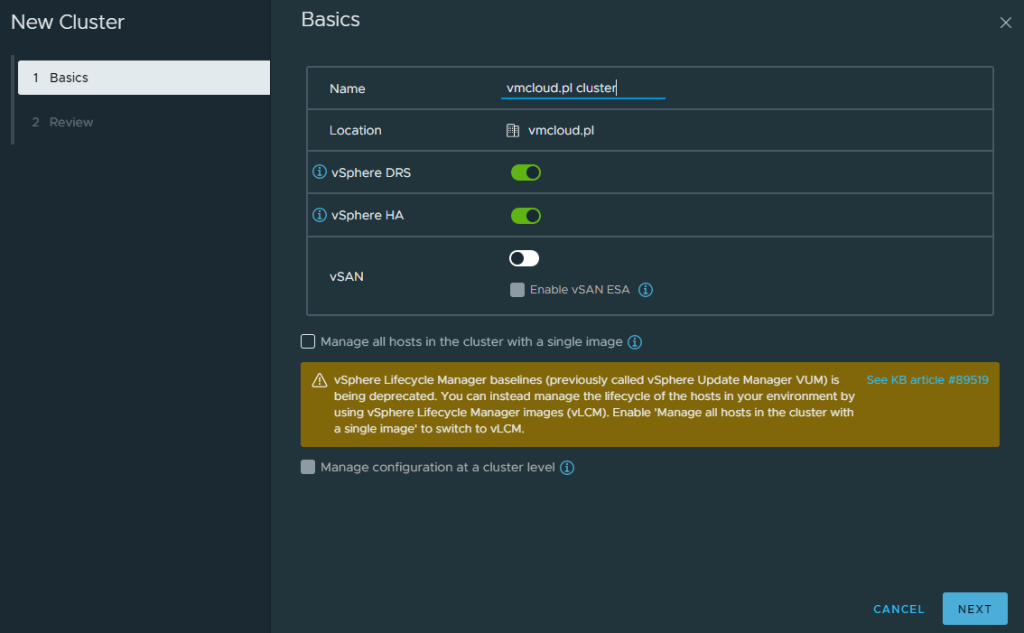
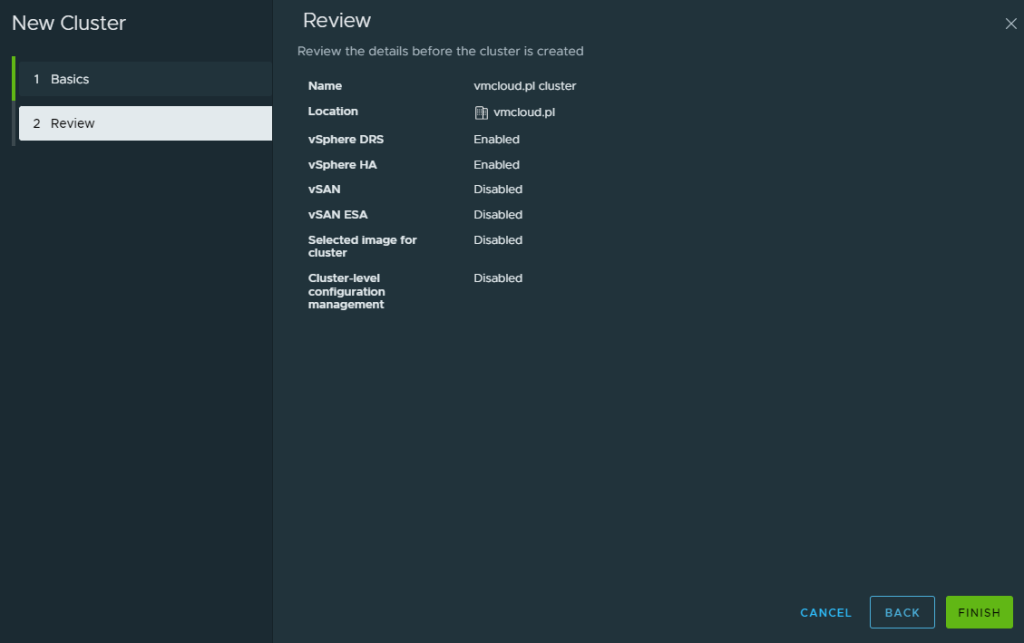
-
Now, let's create a cluster.
Right-click on your Datacenterand chooseNew Cluster. Type thedesired cluster nameand choose settings. Click Next and Finish.You can skip this step if you will use only one ESXi.
-
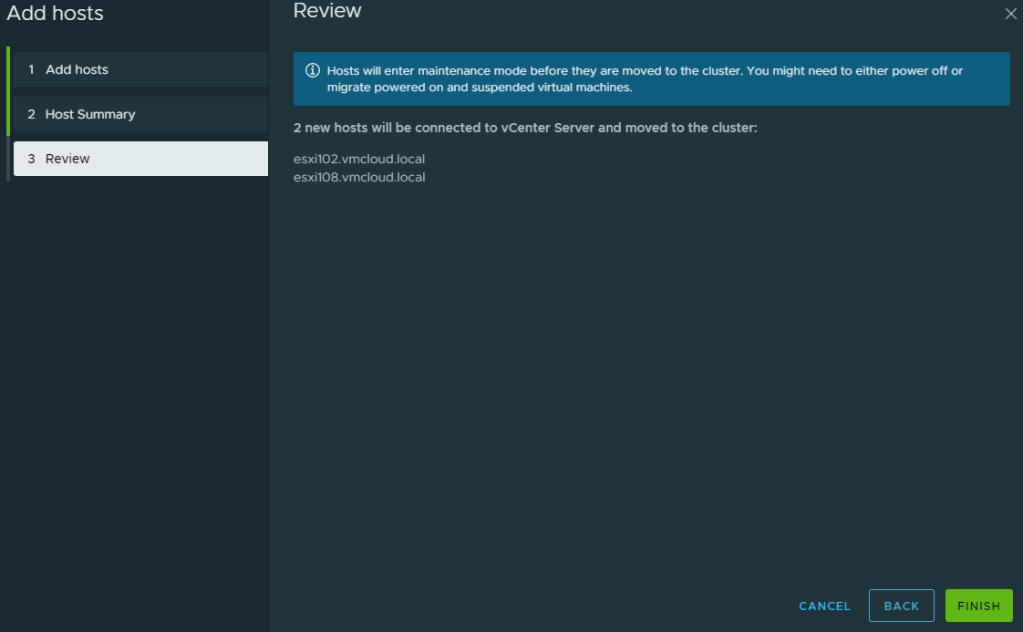
Right-click on the clusterand chooseAdd hosts.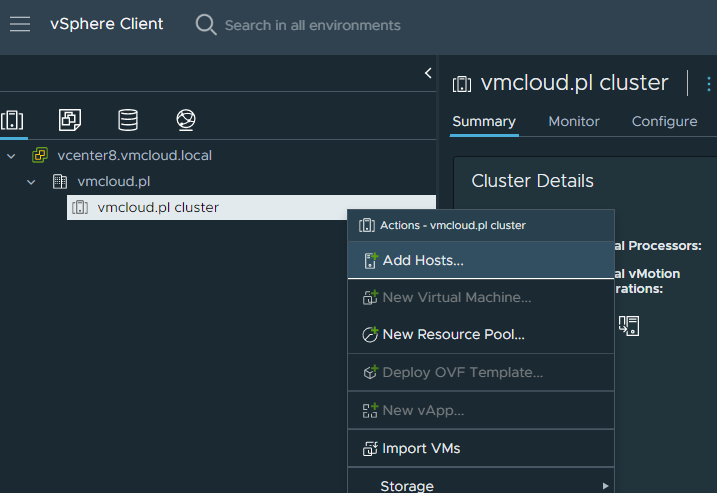
-
Type all the hoststhat you want to add.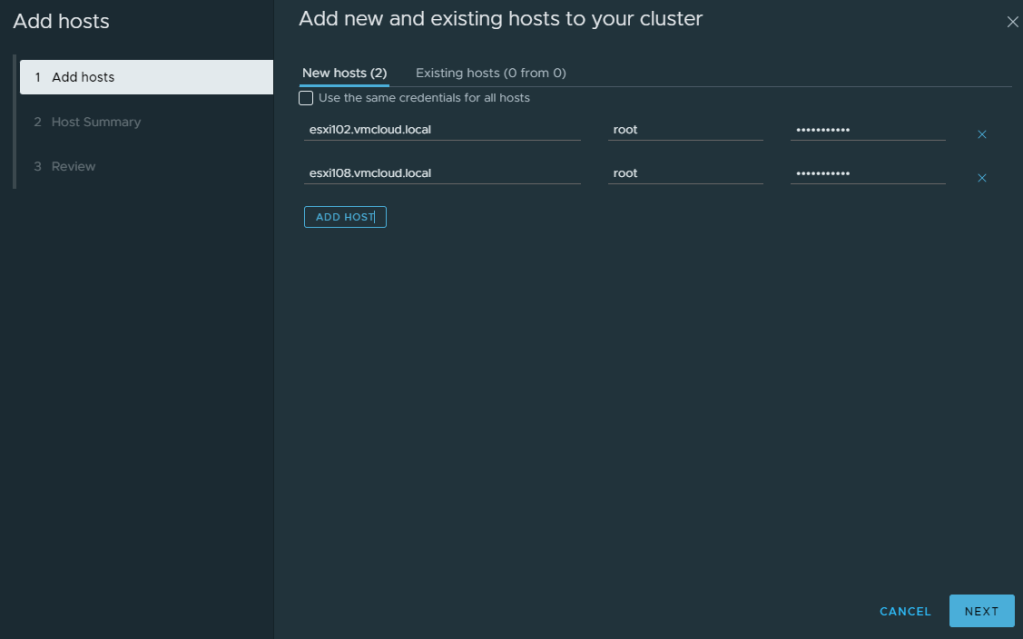
-
Confirmthe security alert.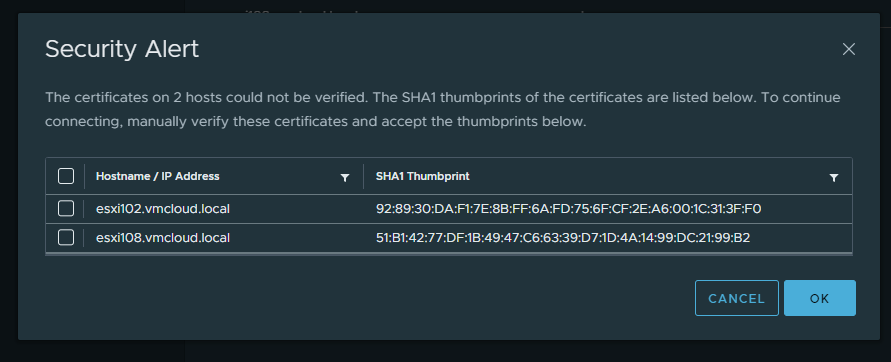
-
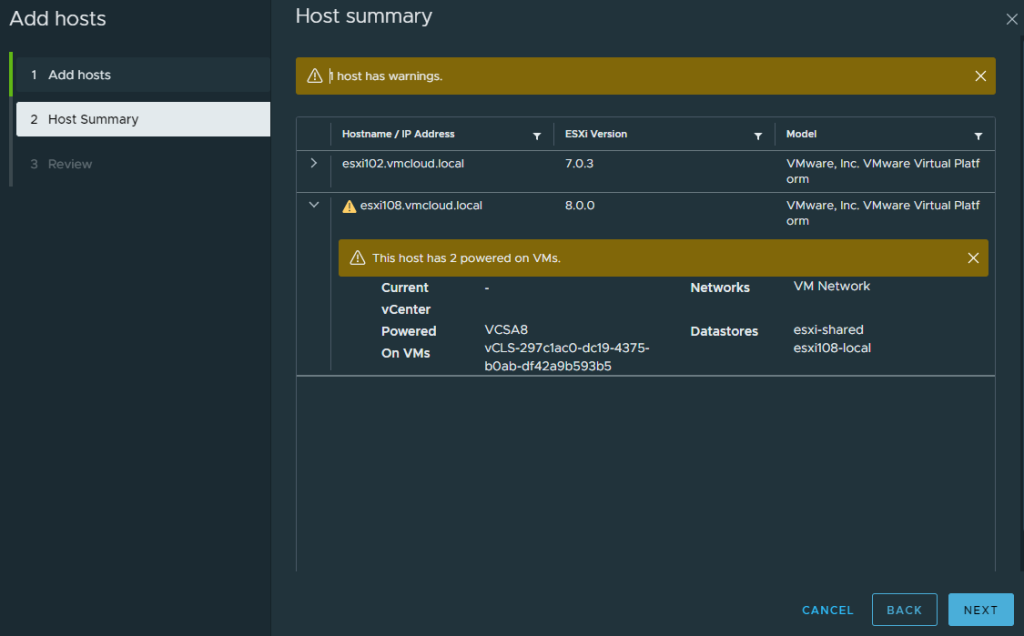
Host summaryclick next. Review click Finish.Yes, you can add ESXi 7.0 to vCenter 8.
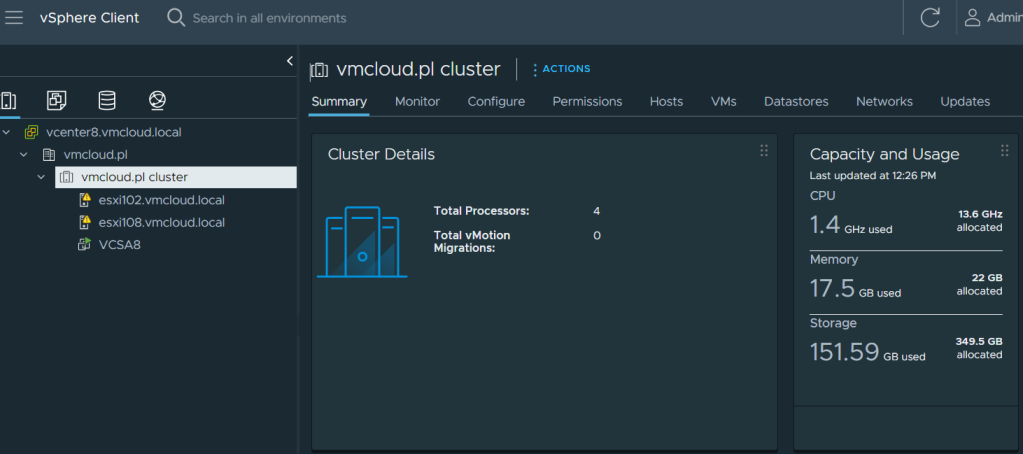
Hosts added to vCenter.
In vCenter 8, you might have an issue when adding Host using FQDN. If you have an error "Cannot contact host.." even if your DNS settings are ok, you might try to restart DNS cache service on vCenter.
To restart the service, connect to your vCenter Server by SSH and use the following command:
service dnsmasq restart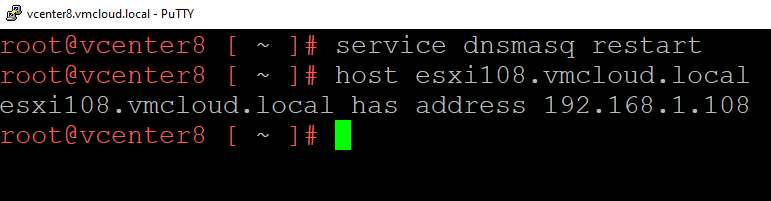
That's it! Your vCenter 8.0 is ready to use!