Upload an ISO image file
Tasks
Create a content library
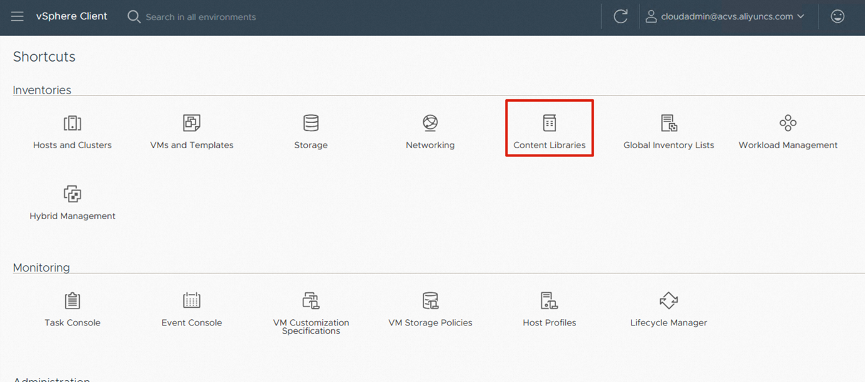
- Log on to the vCenter by using a browser, click vSphere Client, and then click Content Libraries.
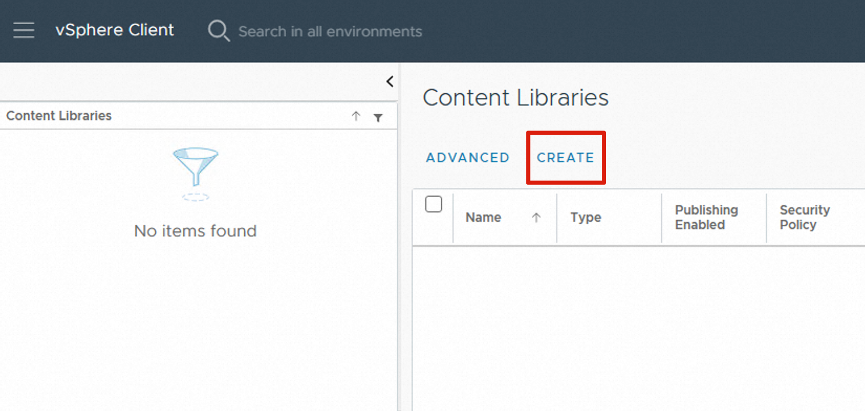
- Click CREATE.
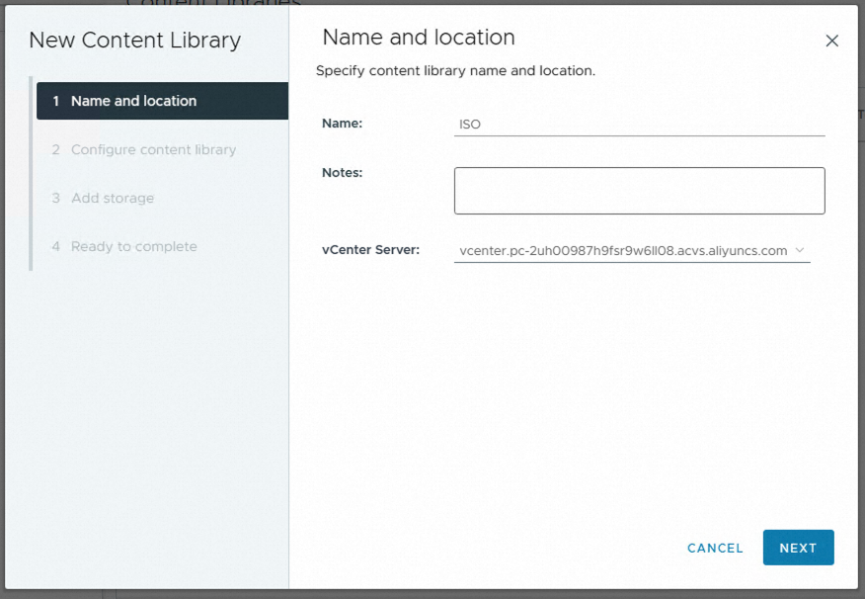
- Set the Name parameter to ISO, and click NEXT.
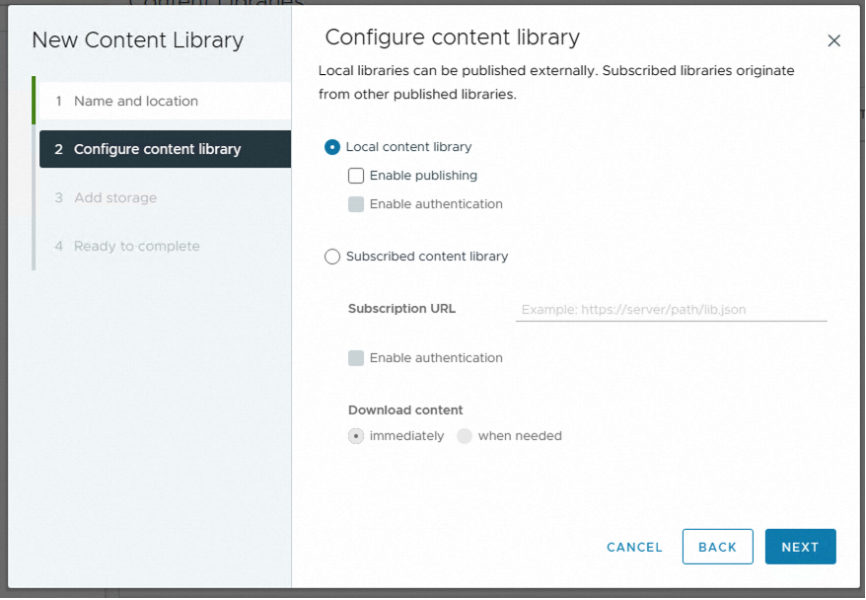
- If you have no specific requirements, retain the default settings and click NEXT.
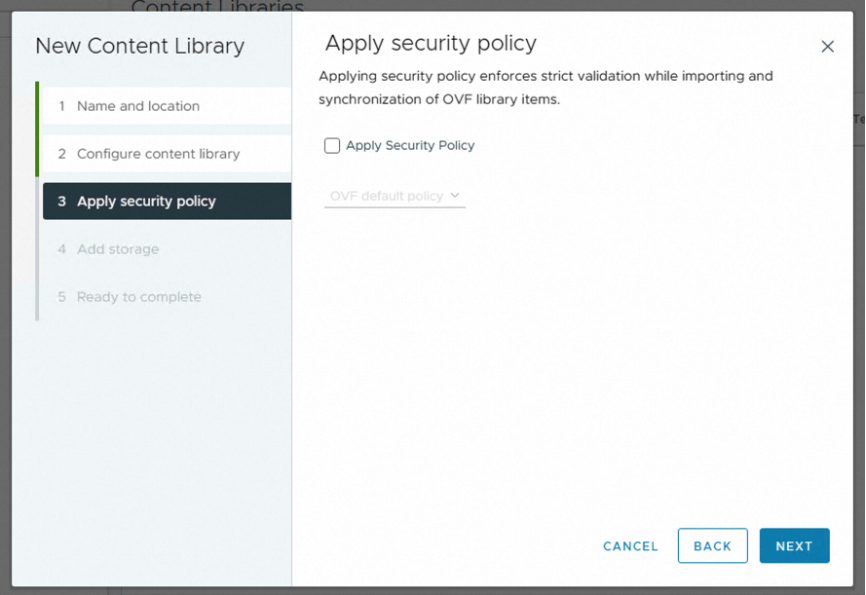
- Retain the default settings of the security policy, and click NEXT.
- Select a storage space for the content library. In this example, WorkloadDatastore is selected. Then, click NEXT.
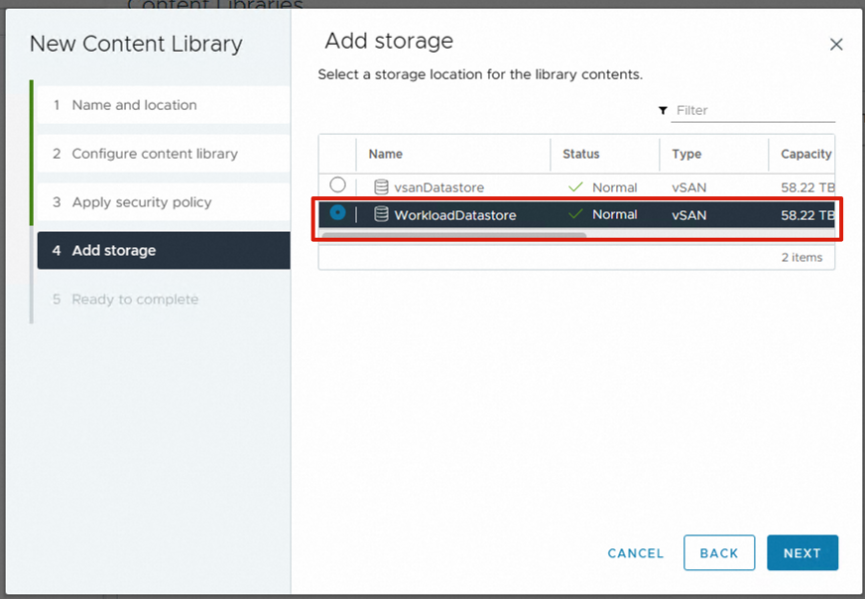
Important: You do not have permissions to access the vsanDatastore storage space and can only access the WorkloadDatastore storage space.
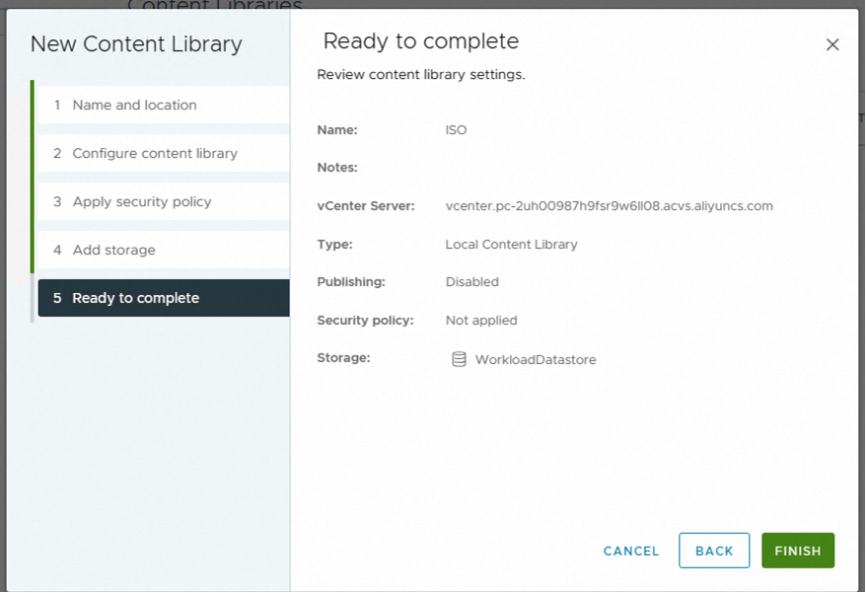
- Check the configurations of the content library. If all the configurations are correct, click FINISH.
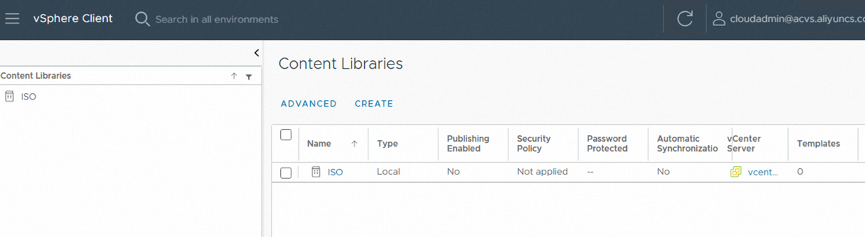
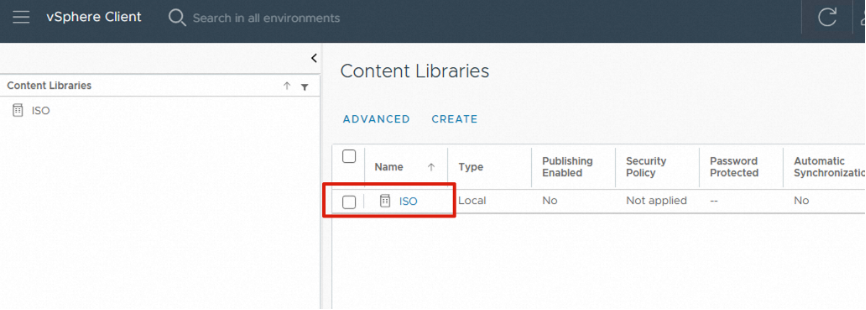
- The content library is created.
Upload an ISO image file
- Click the name of the created ISO content library to open it.
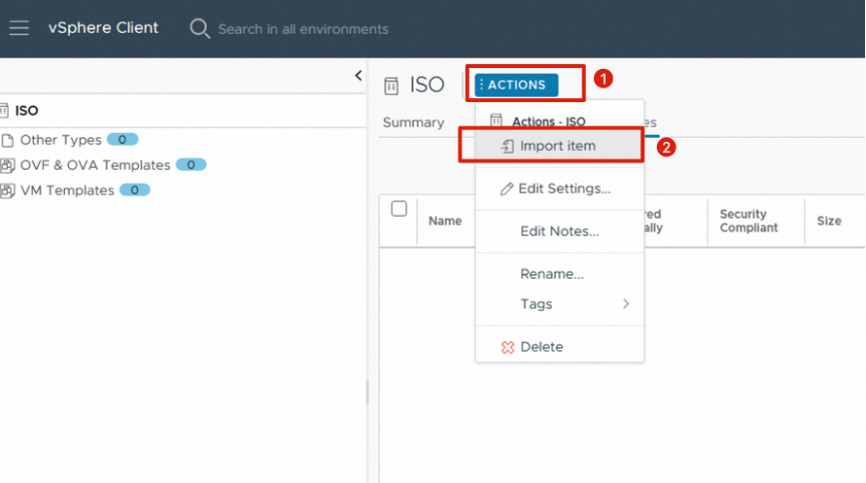
- Click ACTIONS and select Import item.
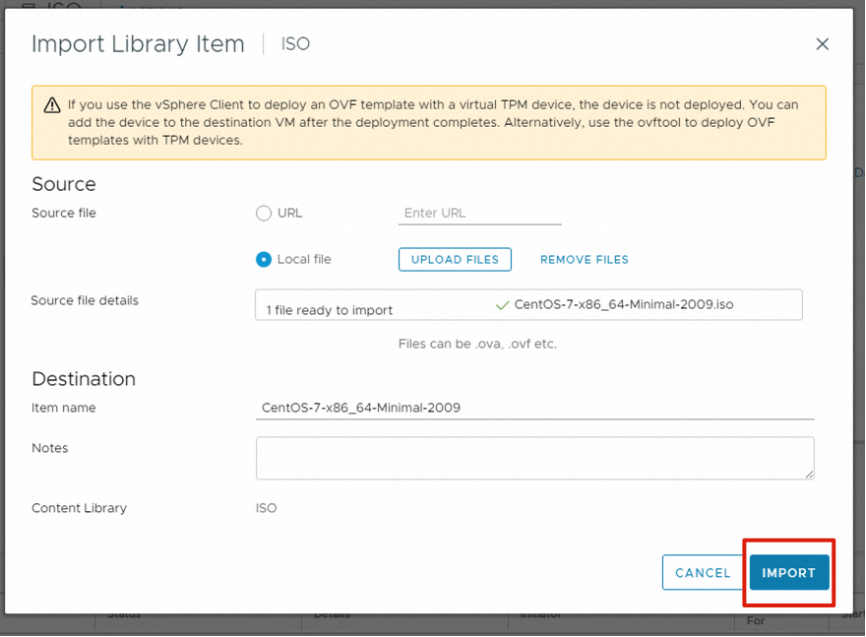
- Select Local file and click UPLOAD FILES.
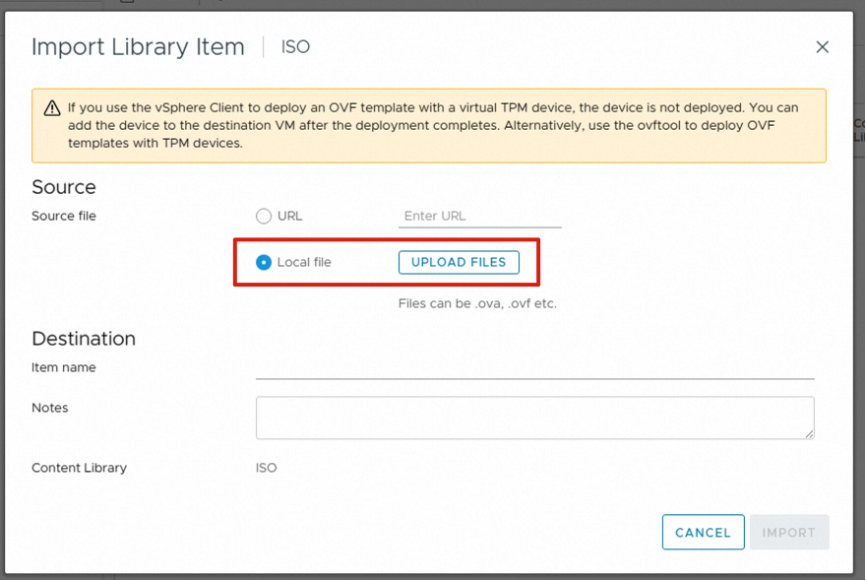
Important: You must download the ISO image file of the OS to the local disk of the ECS jump server in advance.
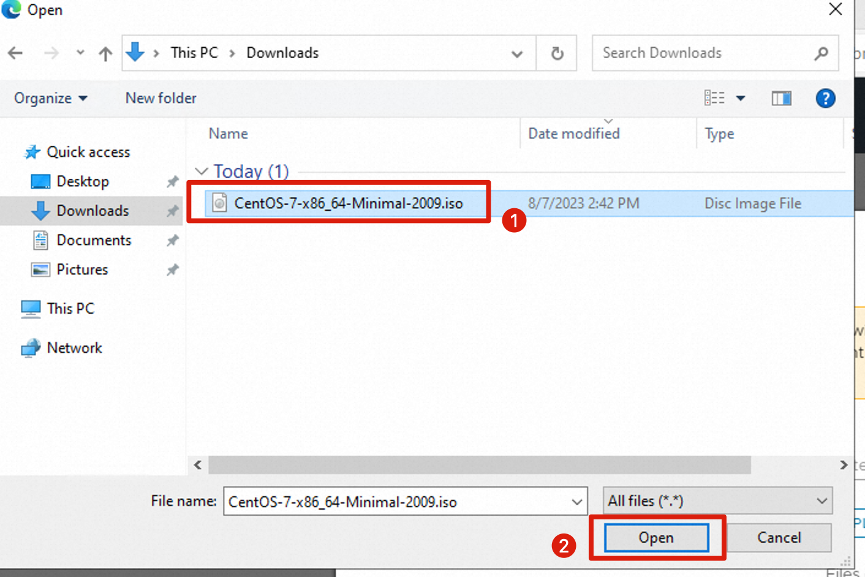
- Browse to select the ISO image file of the OS, and then click Open.
- Click IMPORT to import the ISO image file to the content library.
- The taskbar displays the upload progress of the ISO image file. Wait for the upload to complete.

- After the ISO image file is uploaded, you can create a virtual machine (VM), load the ISO image file, and start to install the OS.