Enrolling a Mac in use
1. Backup Before Deploying JamF with Time Machine on MacOS
You can real following guide below:
2 ENROLL the computer that is still in use by the User.
Requirements before implementation:
- The Mac OS computer must be running OS version 13.x.x (Ventura) or higher. If the version is lower, enrollment may fail or cause errors. Reference link here.
- You must have a local IT Admin account on the machine to install the necessary programs.
Implementation:
Step 1: Go to the following link to download the necessary profiles to your computer.
https://geargames.jamfcloud.com/enroll
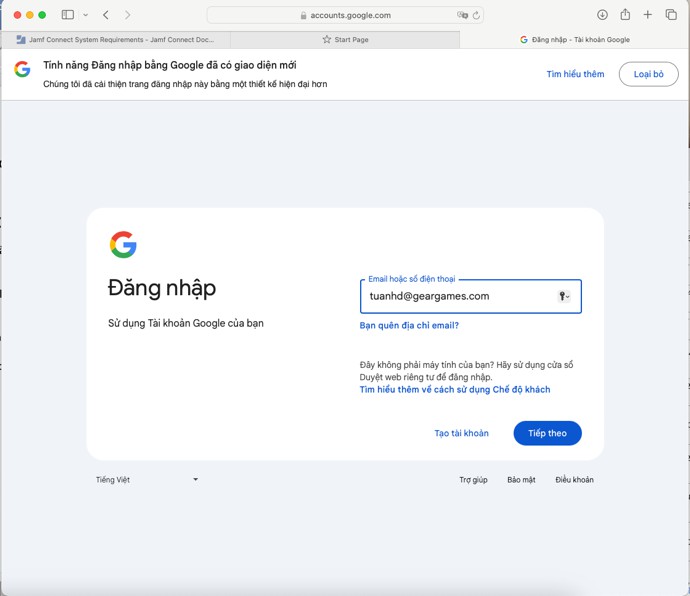
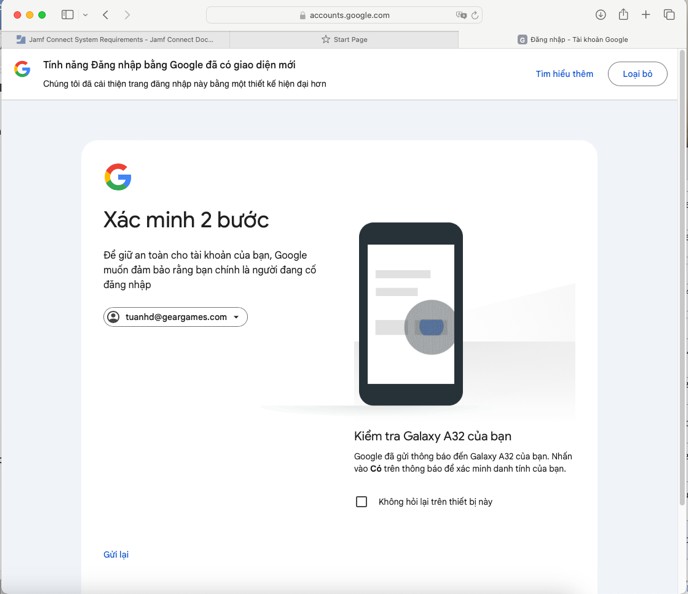
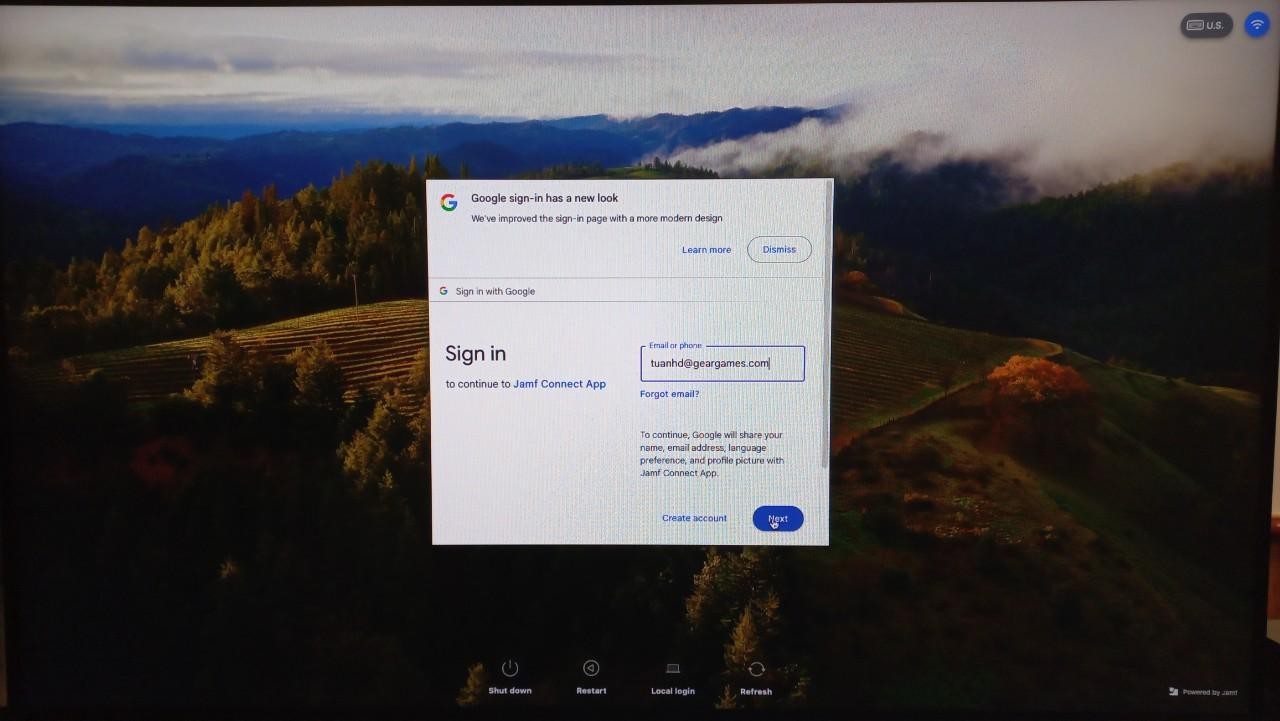
After accessing the link, the system will require you to enter your Google account. Enter your account information accurately, then perform two-step verification as requested by the Google system.
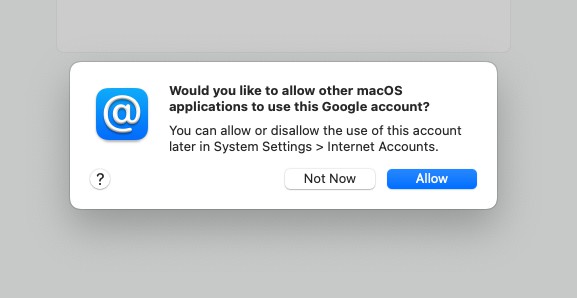
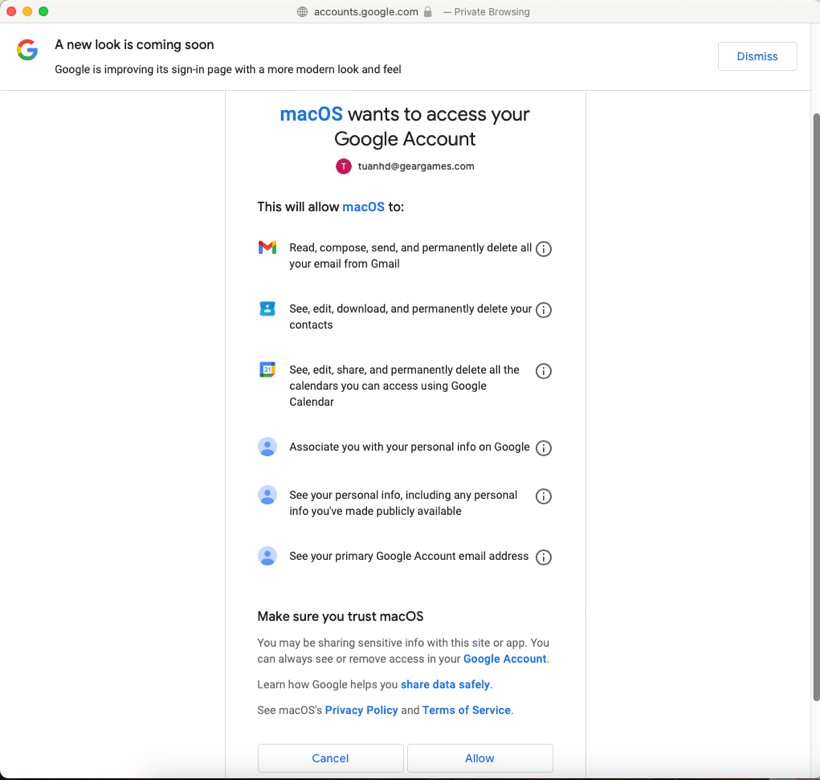
Select Allow to grant access to your Google account on Mac OS.
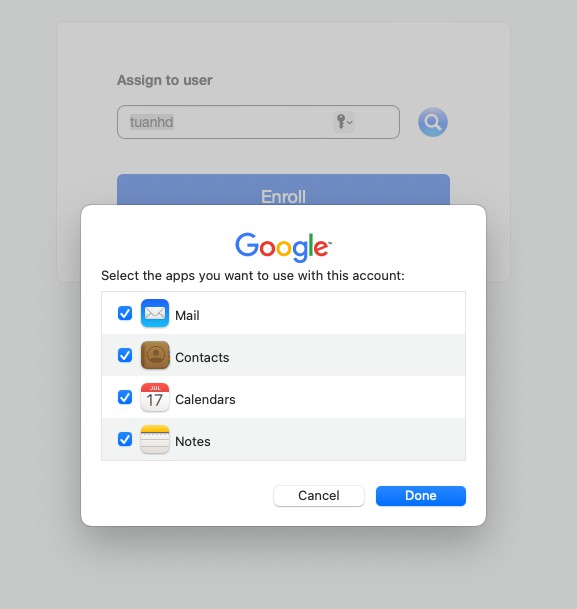
Click Done. Then go to MacOS > System Setting > Internet Accounts. Select the Google account you just logged in to verify again. Click Open Browser and click Allow.
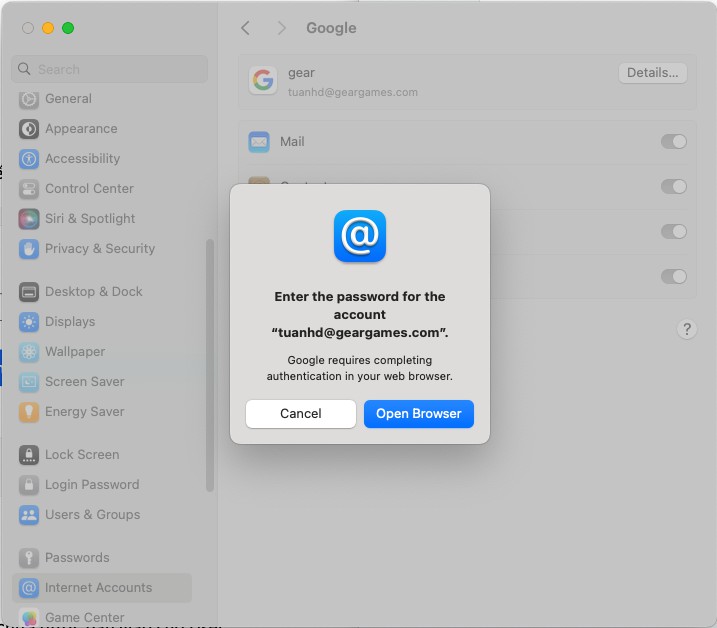
After successful verification, your account name will now appear.

Next, press Enroll to register the device on Jamf.

Step 2: Install the MDM profile from Jamf
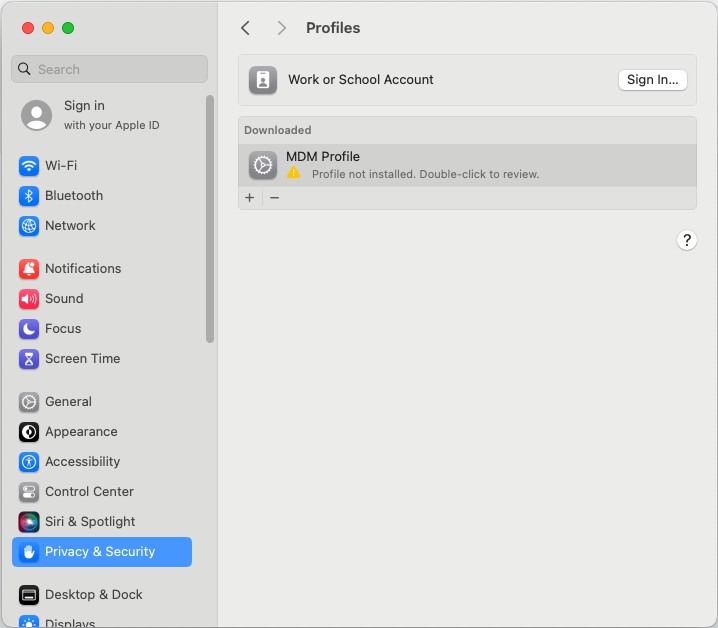
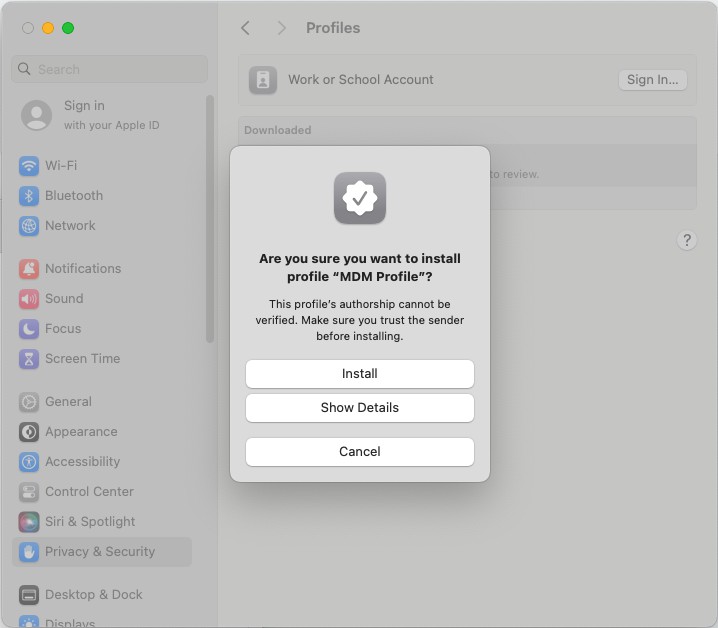
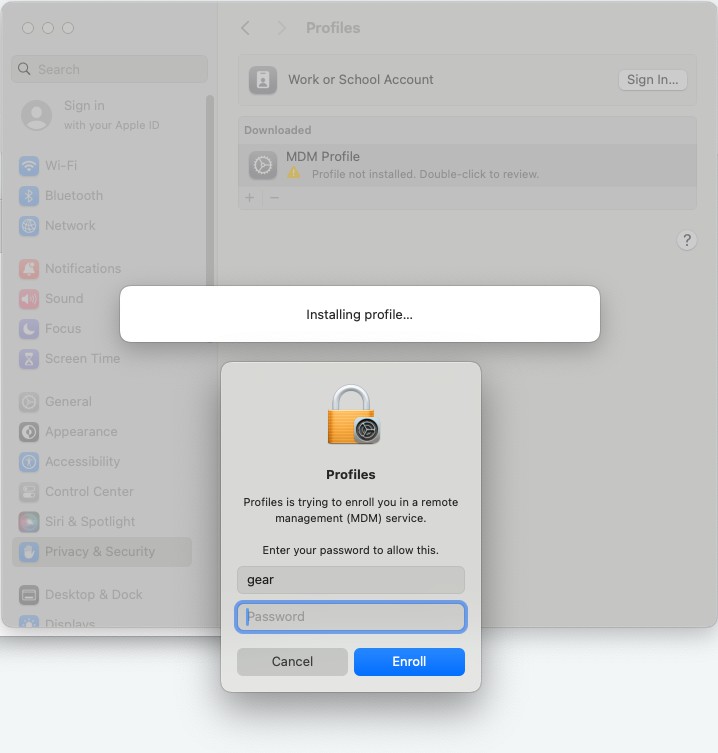
Press Enroll to start downloading the MDM installation file from Jamf. The downloaded installation file will be in System Setting > Privacy & Security > Profiles. Double-click to install.
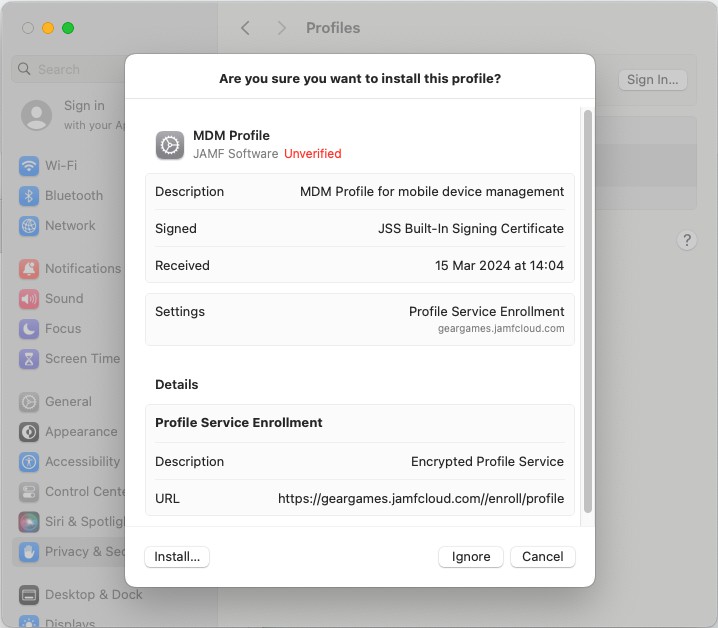
Enter the password of the Local Admin account.
After installing the MDM profile, the system will automatically install the necessary additional profiles for managing the Mac OS device on Jamf Pro.
Step 3: Install Jamf Connect Login Windows Profile to login with Google Account from the computer login screen
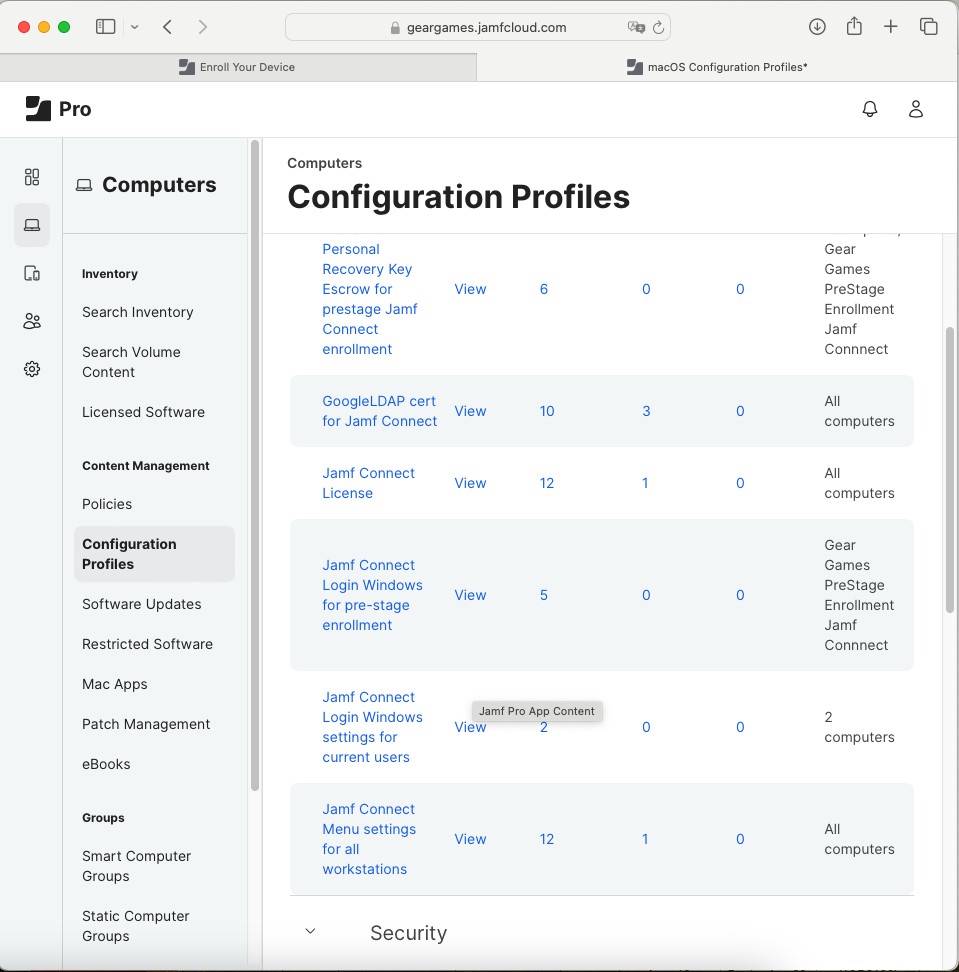
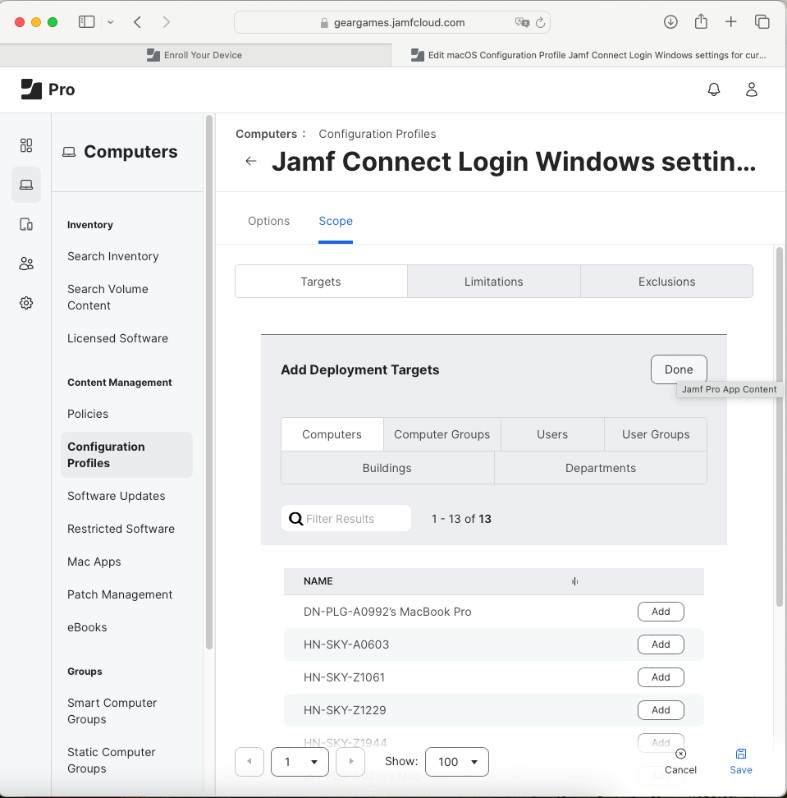
Access the Jamf Pro admin page with your admin account to continue pushing a login profile with a Google account to the computer. Go to Computers > Configuration Profiles. Here you select the profile named Jamf Connect Login Windows setting for current users.
Go to the Scope tab, select Edit, and click the Add button at the top right to add your computer.
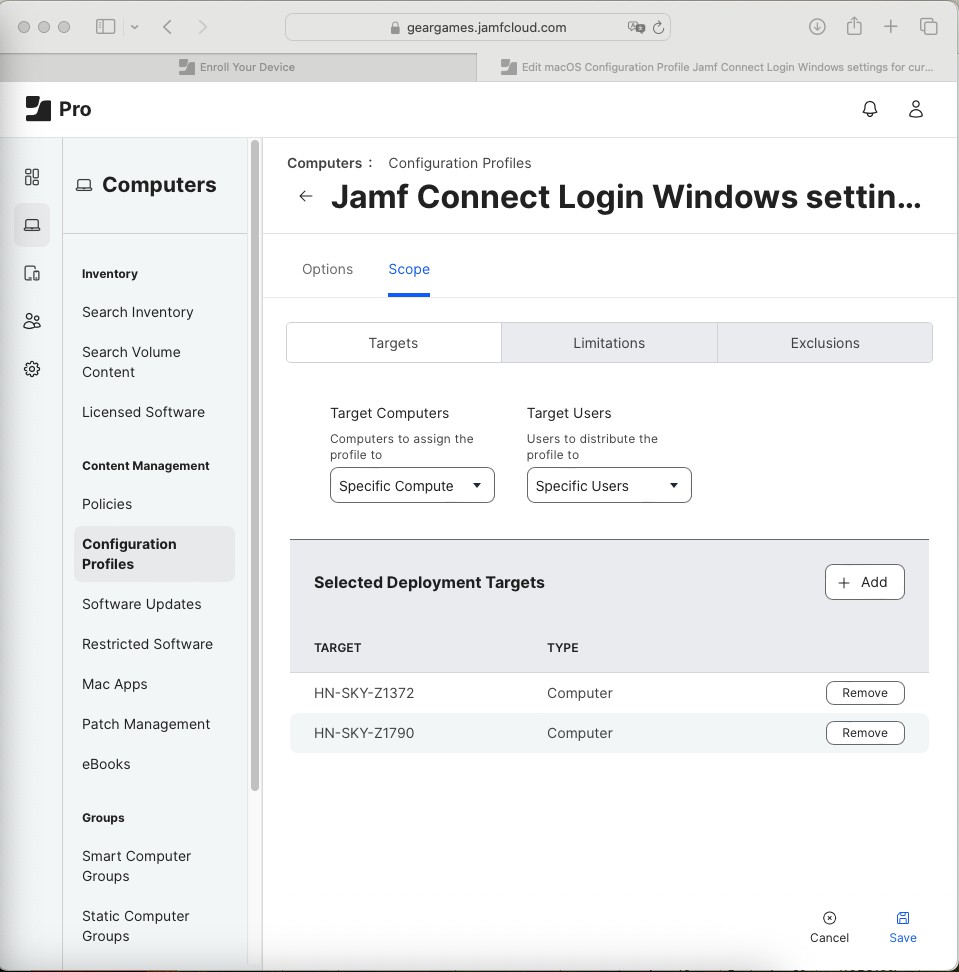
Note: You need to name the computer correctly before adding the device because this will help you avoid renaming the device multiple times when transferring it to users and also synchronize the name according to the asset management system.
Click Done and select Save to save the changes.
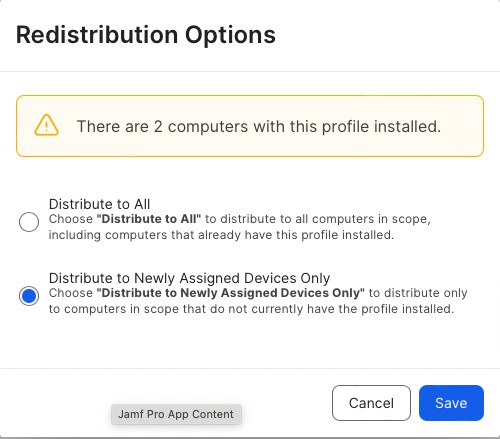
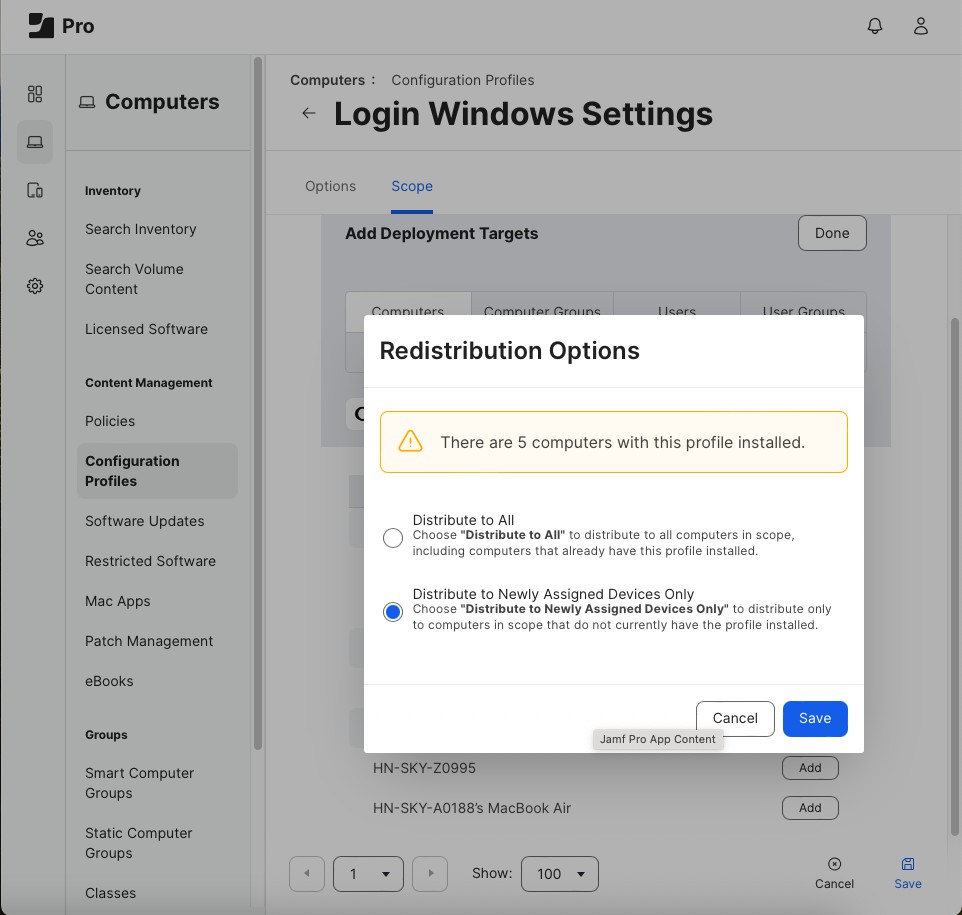
Confirm the change will apply to newly assigned devices only. Click Save to complete the procedure.
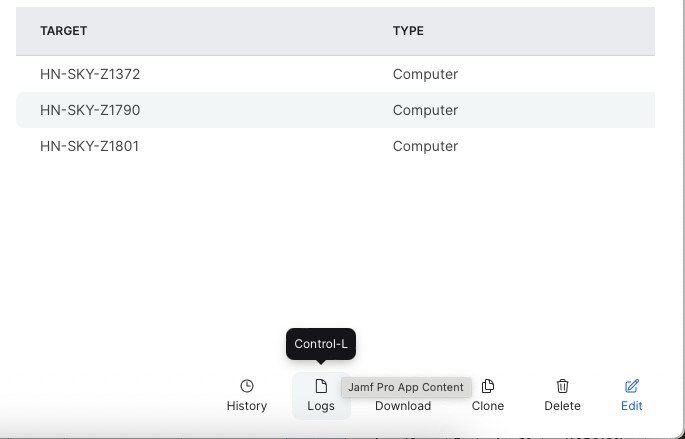
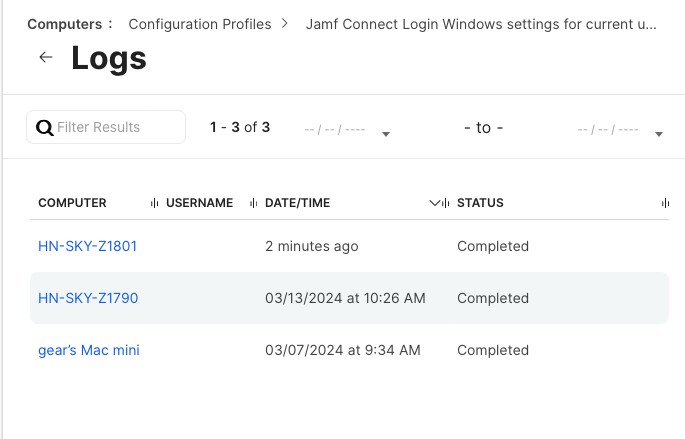
You can check the progress by going to Logs.
Step 4: Install Login Windows Settings Profile
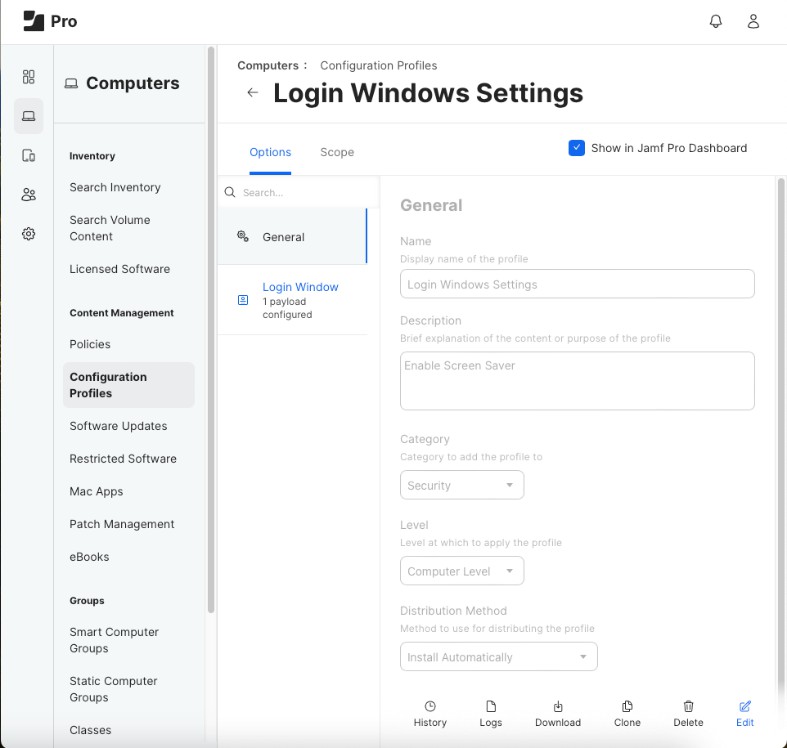
Select Profile "Login Windows Setting".
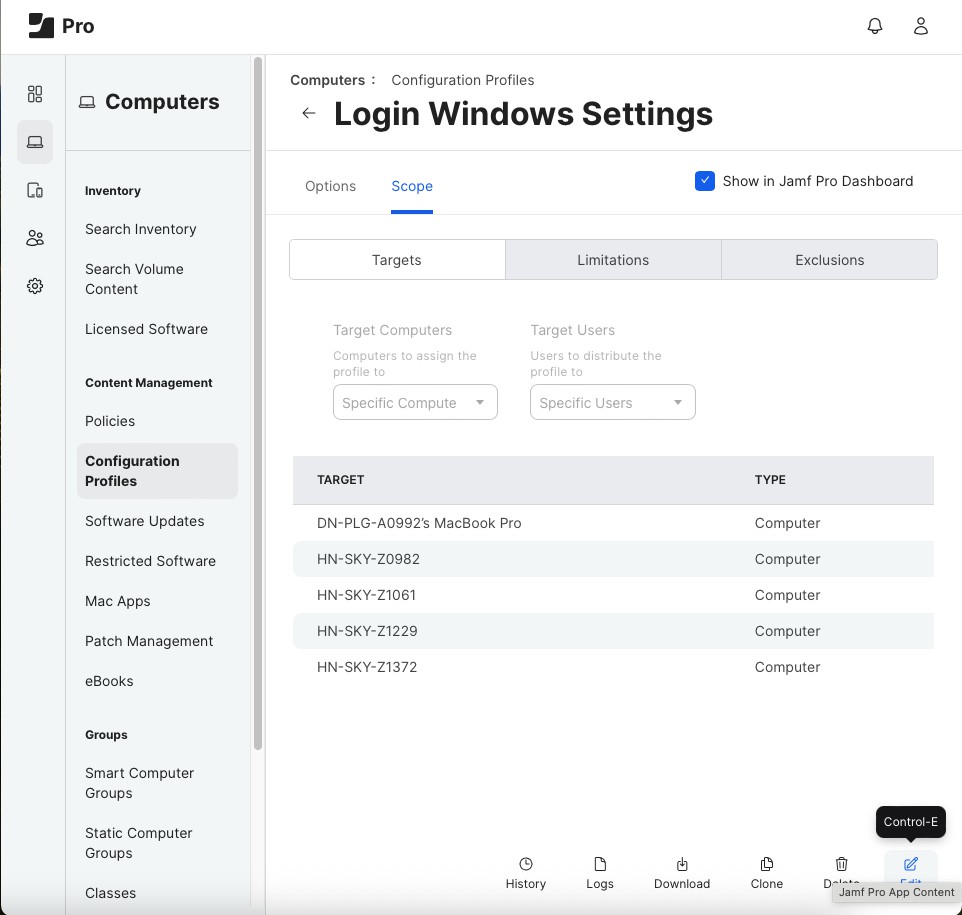
Go to the Scope tab, then click Edit > Add to add the device to push down.
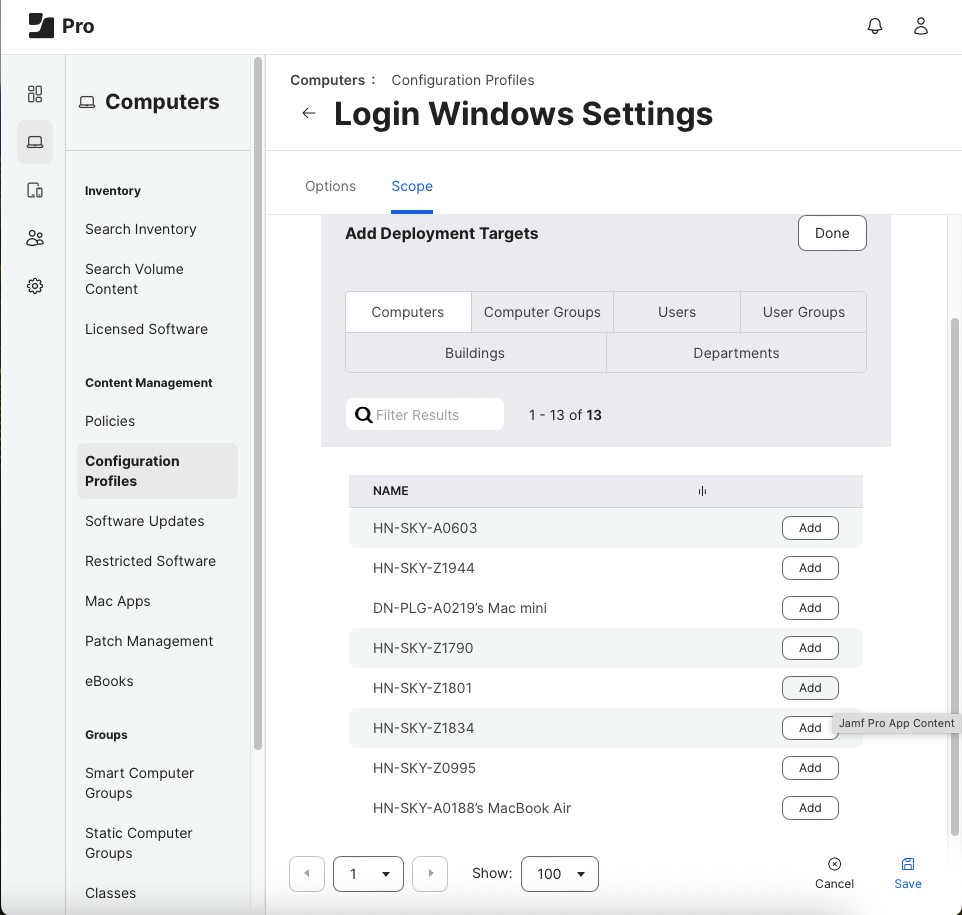
Click Add > Done to confirm adding the device, then click Save to save the changes.
Select Distribute to newly assigned devices only > Save.
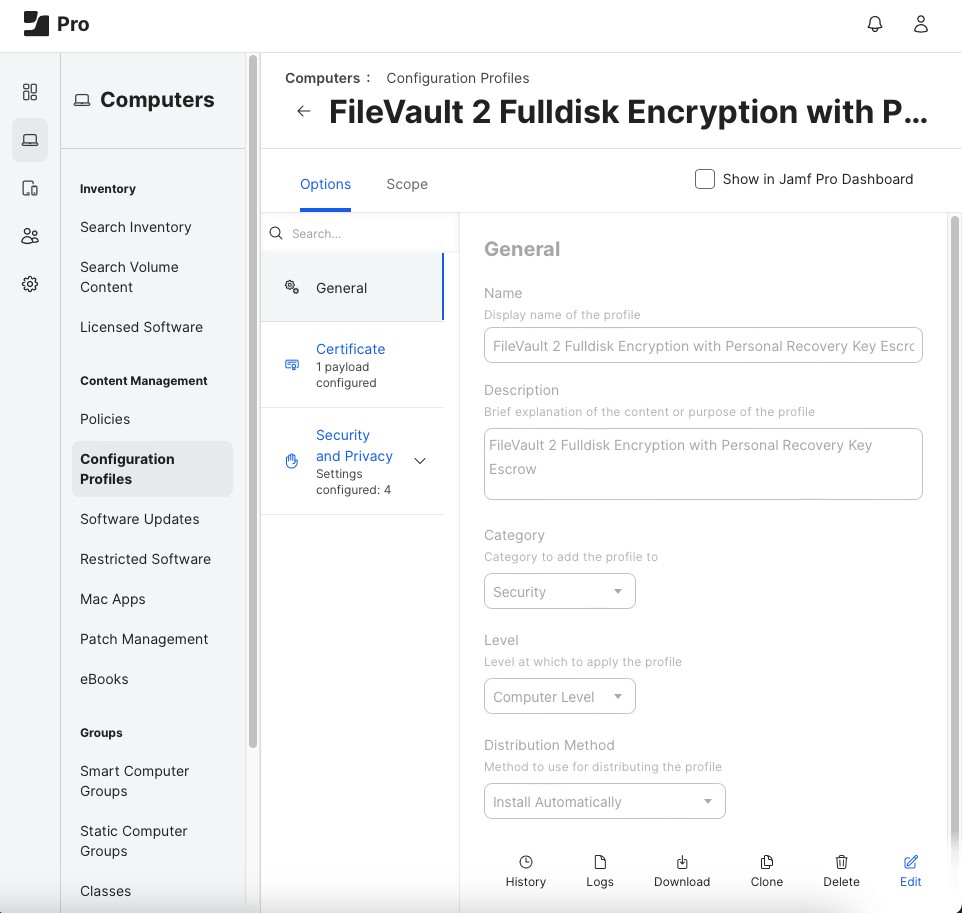
Step 5: Install FileVault 2 Full Disk Encryption with Personal Recovery Key Escrow Profile
Select Profile "FileVault 2 Full Disk Encryption with Personal Recovery Key Escrow"
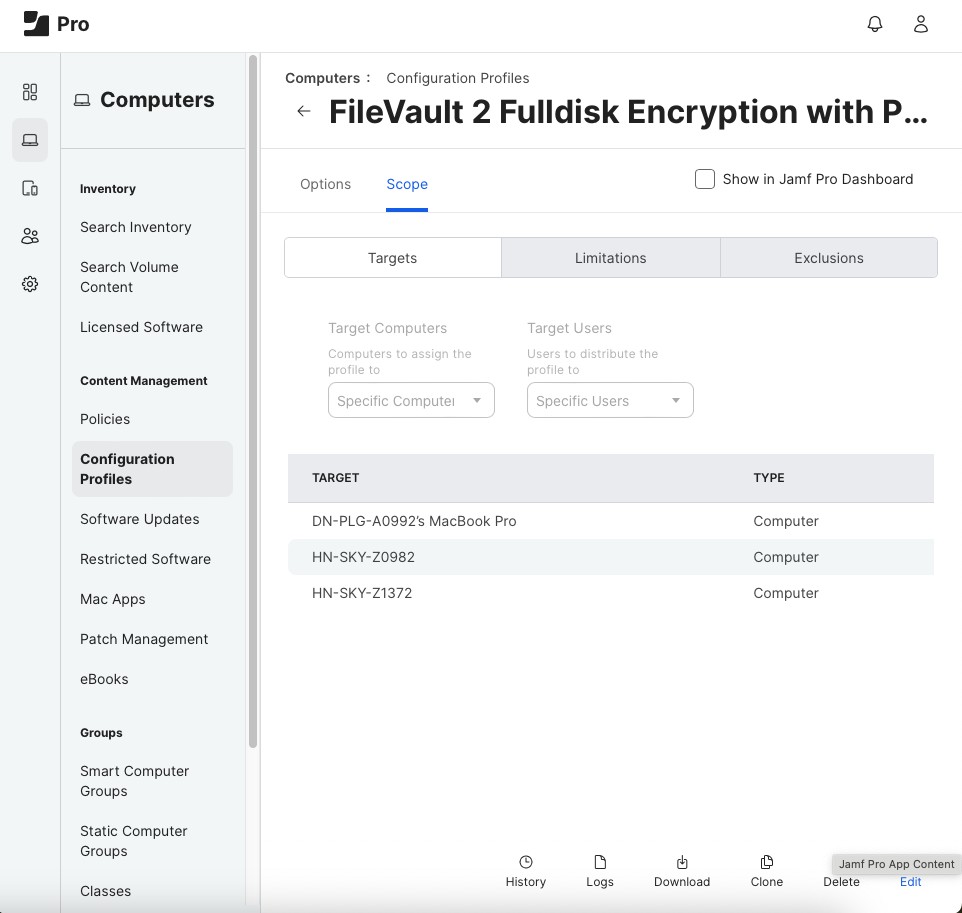
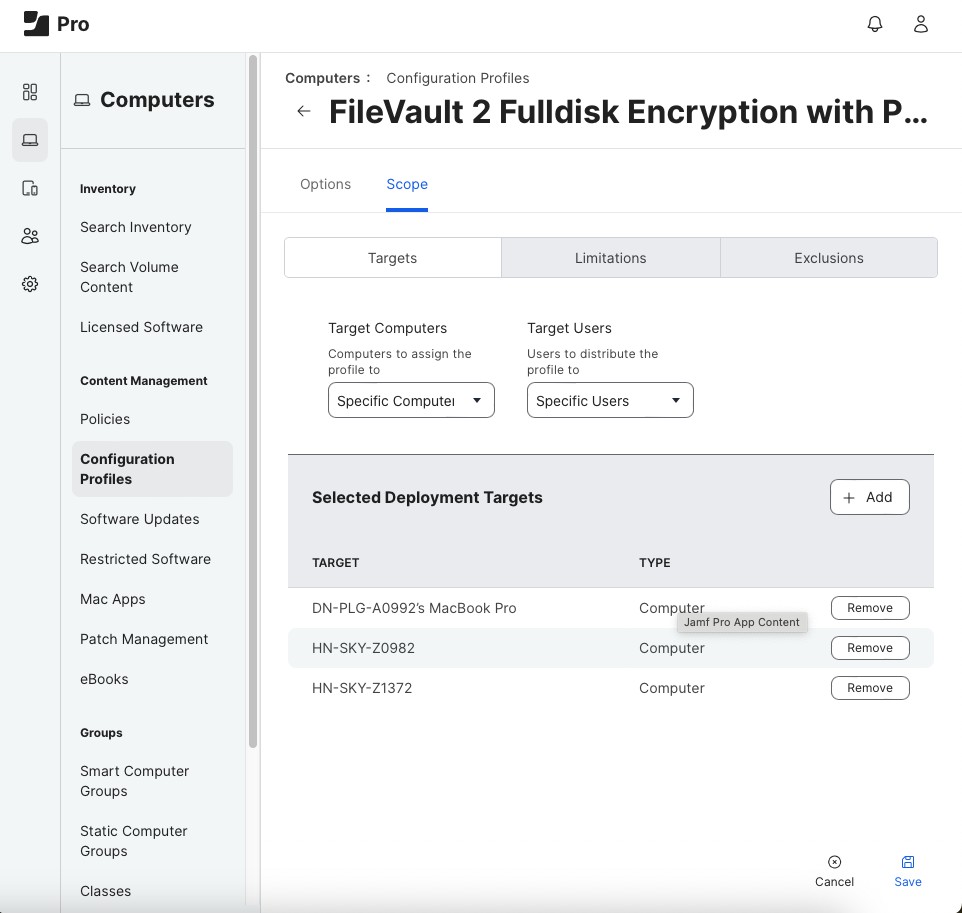
Move to the Scope tab, click Edit > Add to add the device to push down.
Click Add and Done to confirm the change.
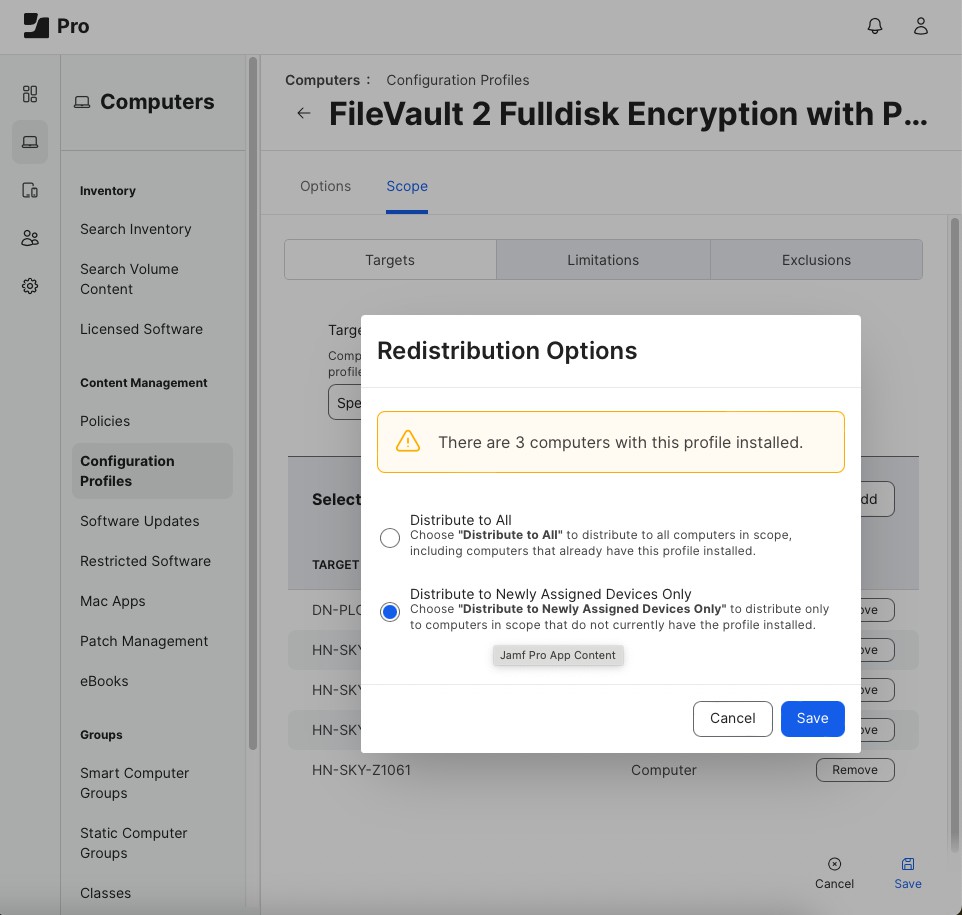
Finally, click Save to save the process. Select Distribute to newly assigned devices only > Save.
Step 6: Security and Privacy General Settings Profile
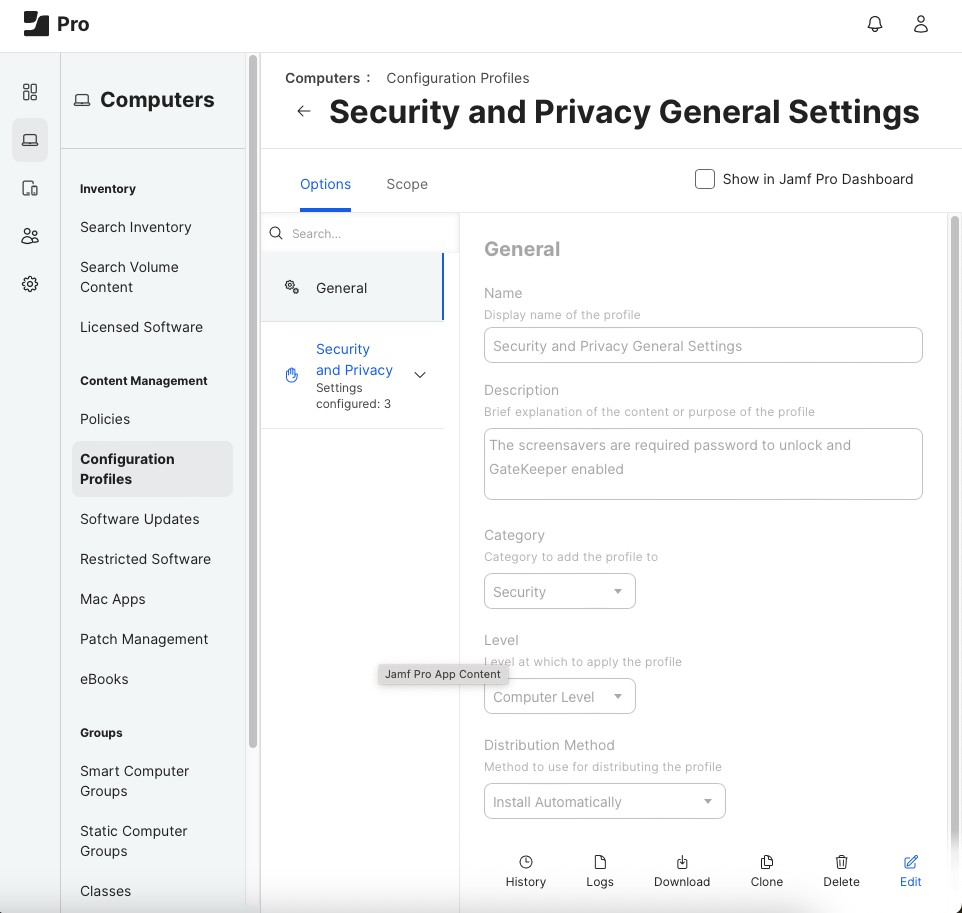
Select Profile "Security and Privacy General Settings"
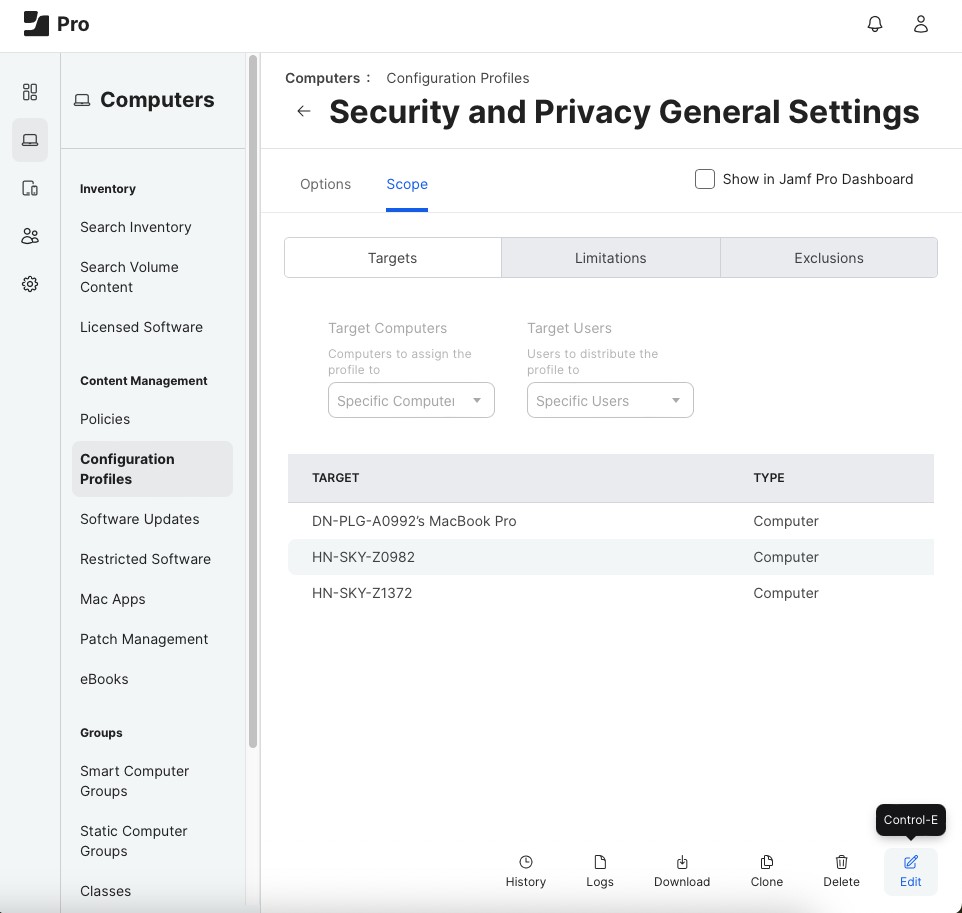
Move to the Scope tab, click Edit
Click Add to add the device to push down.
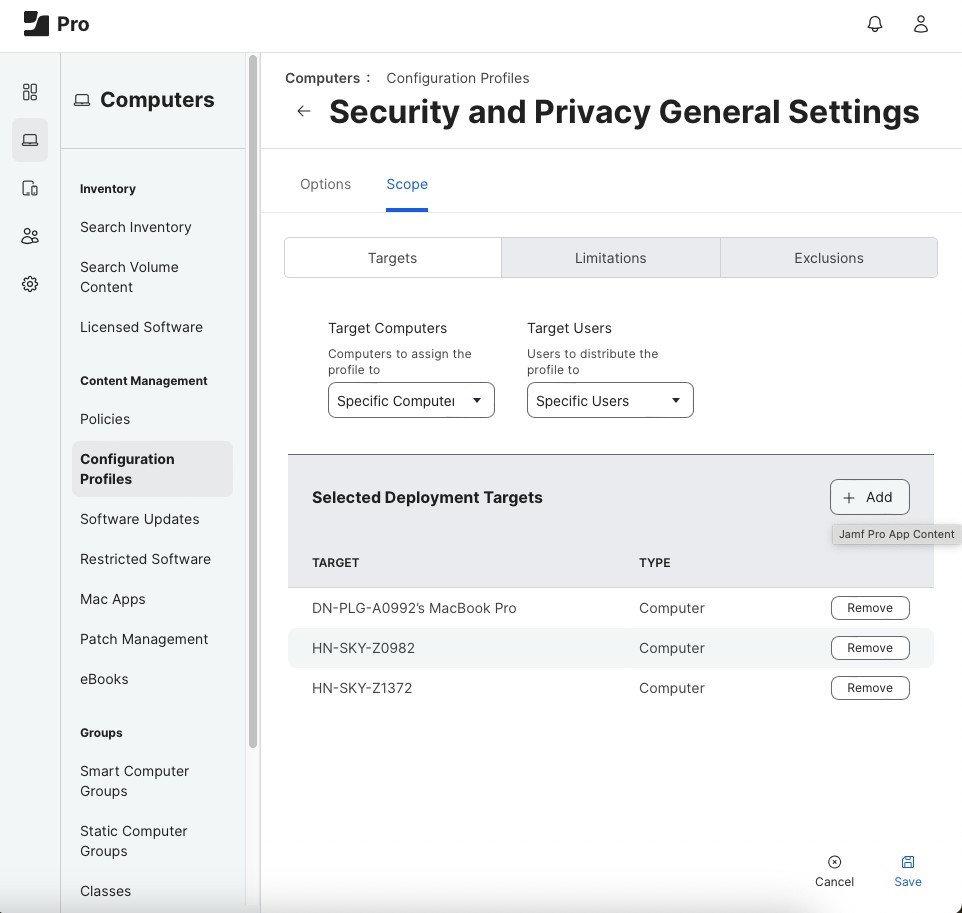
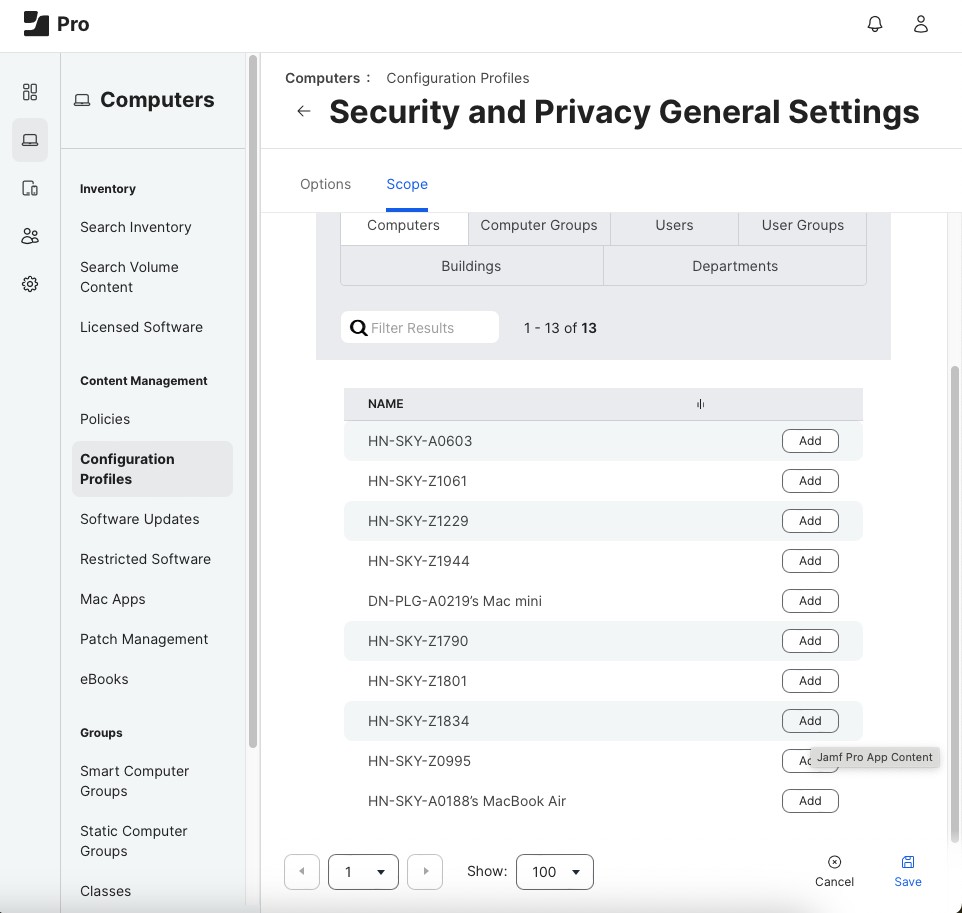
Click Add and Done to confirm adding the device.
Click Save and select Distribute to newly assigned devices only > Save.

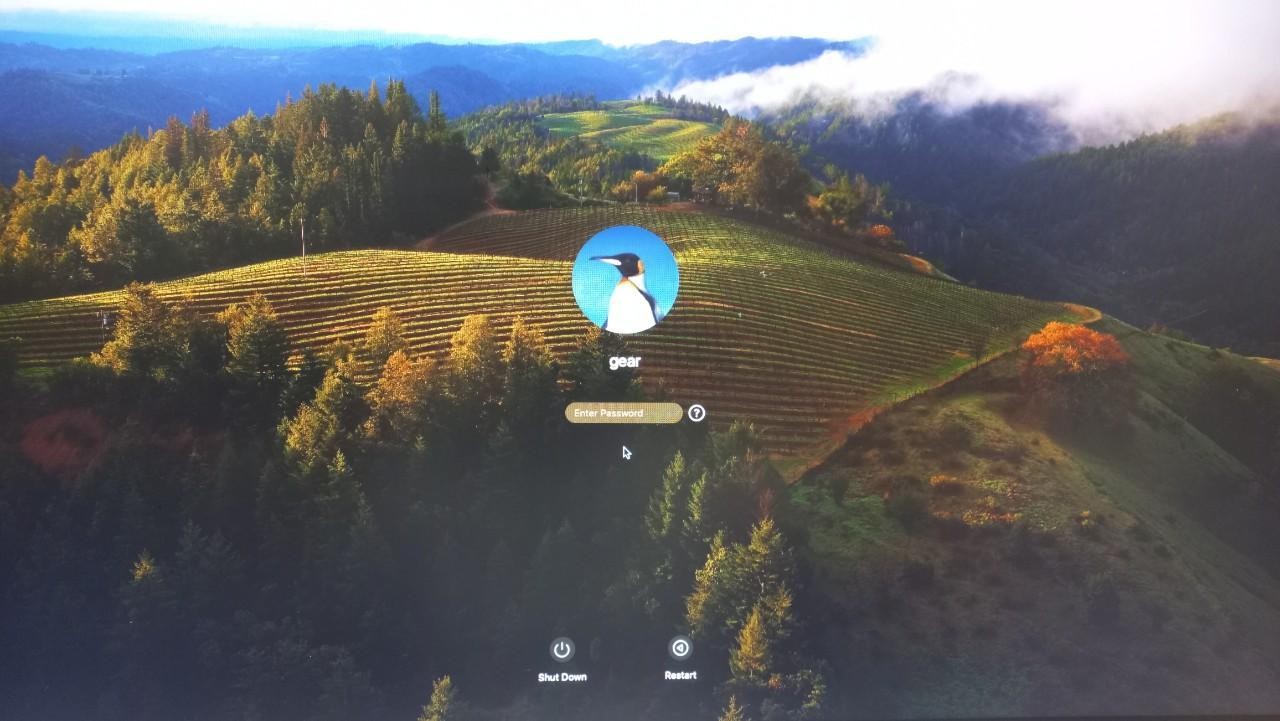
Step 7: Restart the computer to check if the computer has required users to log in with a Google account.
- The first time you restart the system, you will still log in with the Local Account. You need to log in with the current Local Account password.
- Next, the system will require you to synchronize the Local Account password with the Google Account. You must select the correct account to sync. Click Connect.

- From now on, when you turn on or restart the computer, you will need to perform two actions: log in to the Local Account with the password synchronized with the Google Account, and then Single Sign-On with your Google account.
Done.